Buffalo Cauliflower Crust Pizza

IMG_8025

After some inspiration and a request from a friend (thanks, Adam), anything buffalo was on the menu for tonight. I started out with the intension of finally making the cauliflower buffalo “wings” , but when I went to make them – I really wasn’t in the mood for that. Instead, I took it one step farther, got inventive and decided to stick with the combination, but completely alter the form.

I’ve made cauliflower crust pizza a bunch of times, but have to admit – this one came out on top. I modified the recipe from iFoodReal (link below) and basically ball parked the ingredients using less cauliflower (I used about 1/2 a cauliflower head). First you want to pulverize the cauliflower in a food processor or blender. When it is the consistency of rice, you want to then microwave for 6-8 minutes. I did 6, but I used less cauliflower. After the microwave, you want to ring out the cauliflower to remove some of the excess water. (Note: BE CAREFUL! It is HOT!) You can use a paper towel, but the fancy kind would use a cheese cloth.

JPEG image-B719320F4230-1

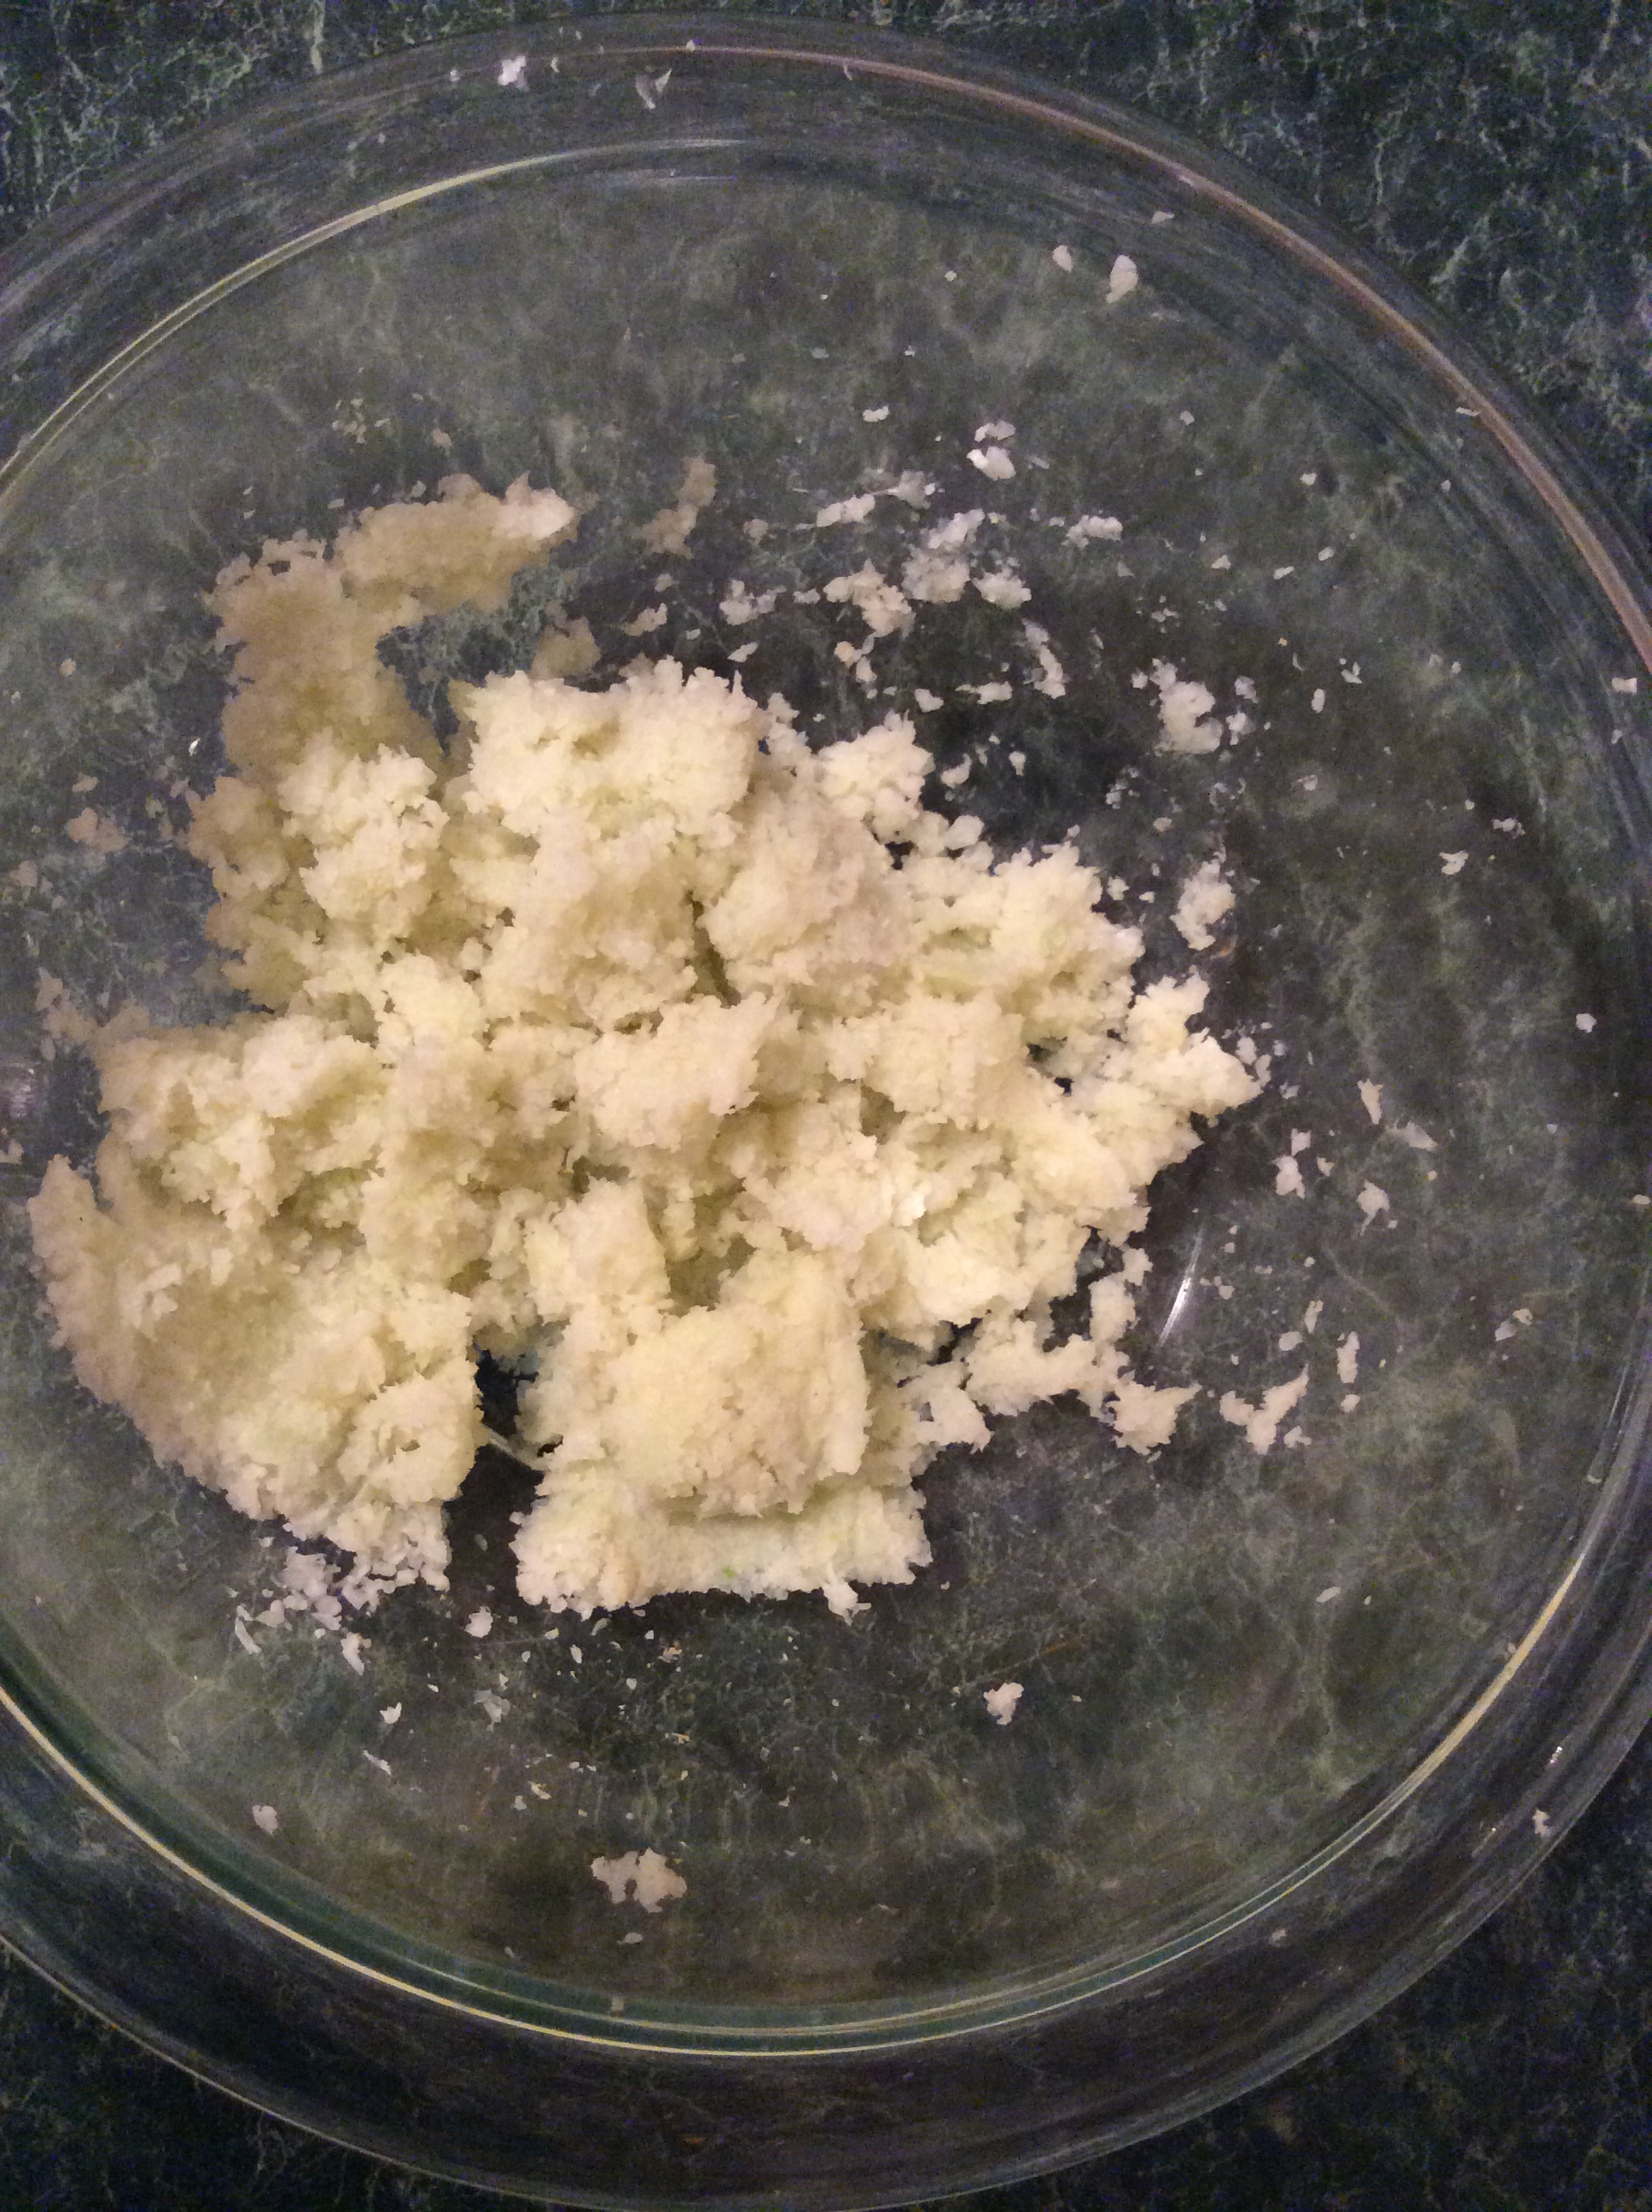
Once you have removed most of the water, you want to add an egg (I substituted 1 egg white), fresh grated mozzarella, sprinkle of parmesan cheese,  and salt and pepper to your liking. 

Stir with a fork, making sure all of the cauliflower rice is covered and beginning to bind.

JPEG image-22640EE3D244-1

Next you want to flatten out your “dough” onto a parchment paper lined baking pan or pizza stone if you have one!

JPEG image-BBC2AADB1223-1

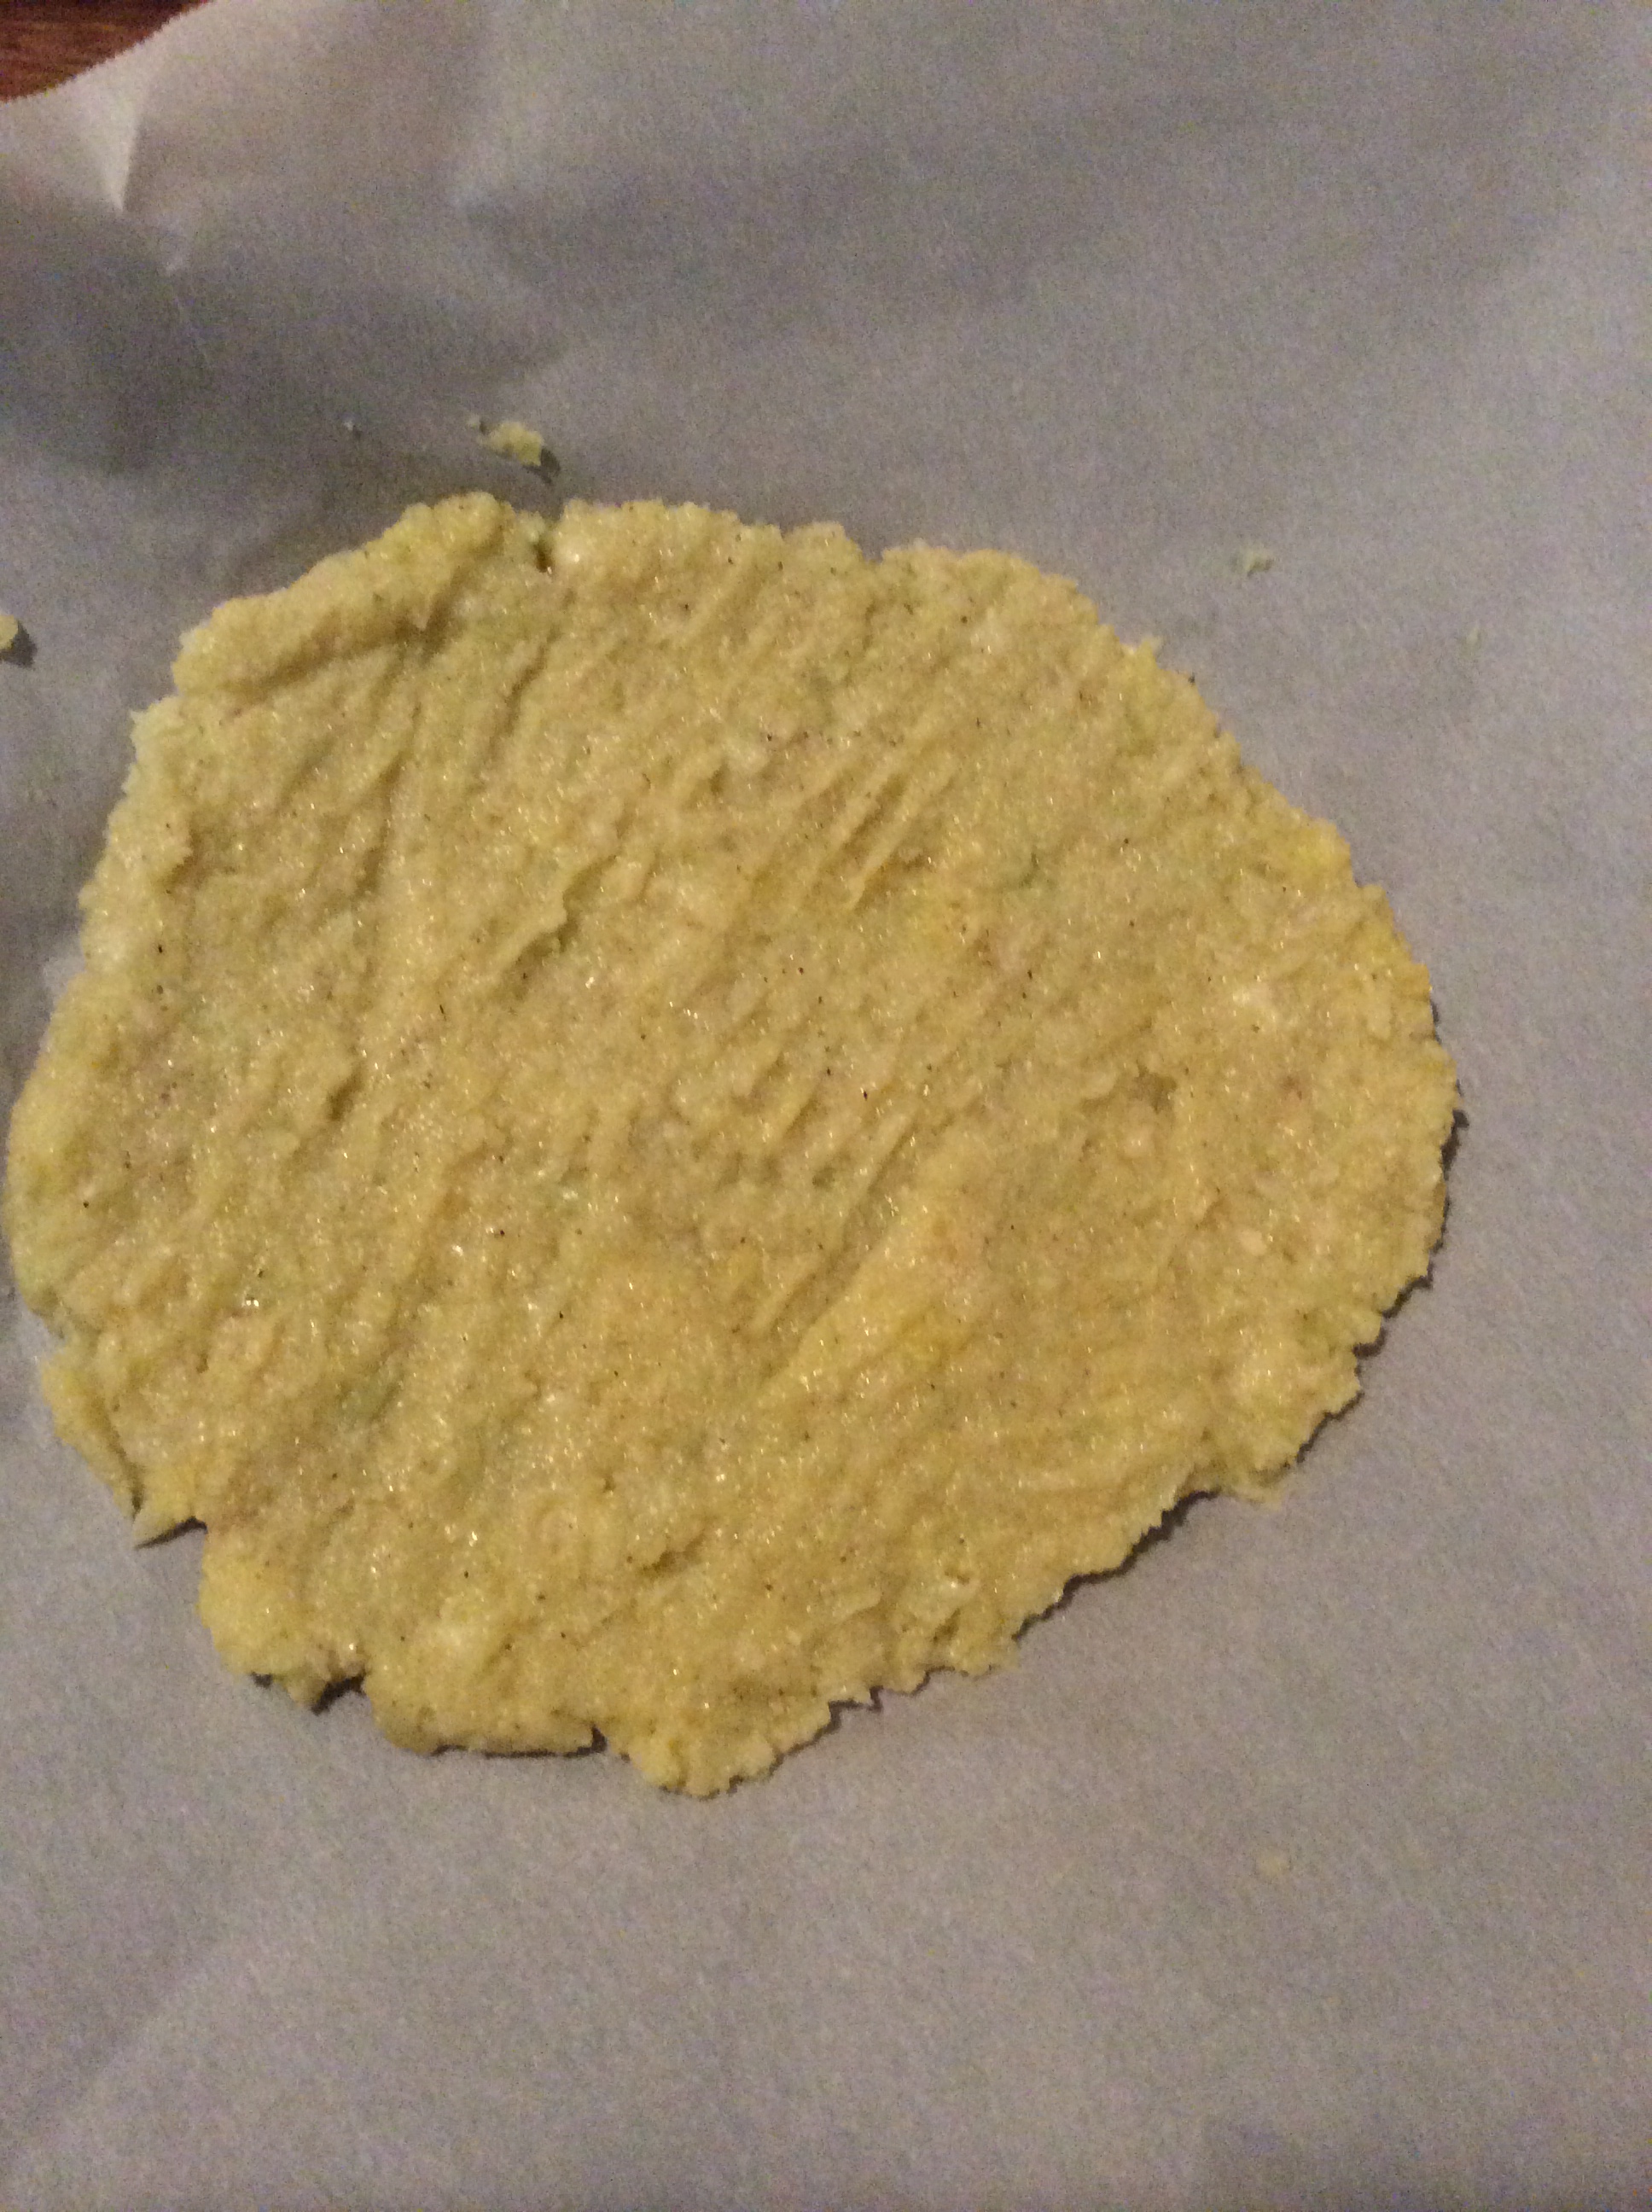
Cook for 15-20 minutes if making the full head, I let mine cook for roughly 10 minutes. You’ll want to pull it out once you see the edges are turning brown. Look at the bottom with a spatula if you’re not sure. Now for your toppings (and where I started to go wild).

JPEG image-E52018A4574F-1

While the crust was in the oven, I made some quick toppings. I grilled 2 asparagus spears and a few (like 4) slices of red onion. I also quickly sautéed about 2 oz of ground chicken, quickly (and simply) seasoned with garlic powder and red pepper flakes. I sliced some fresh mozzarella (from the same ball I grated earlier)By the time that was all done, It was time to pull out the pizza and throw on the toppings.

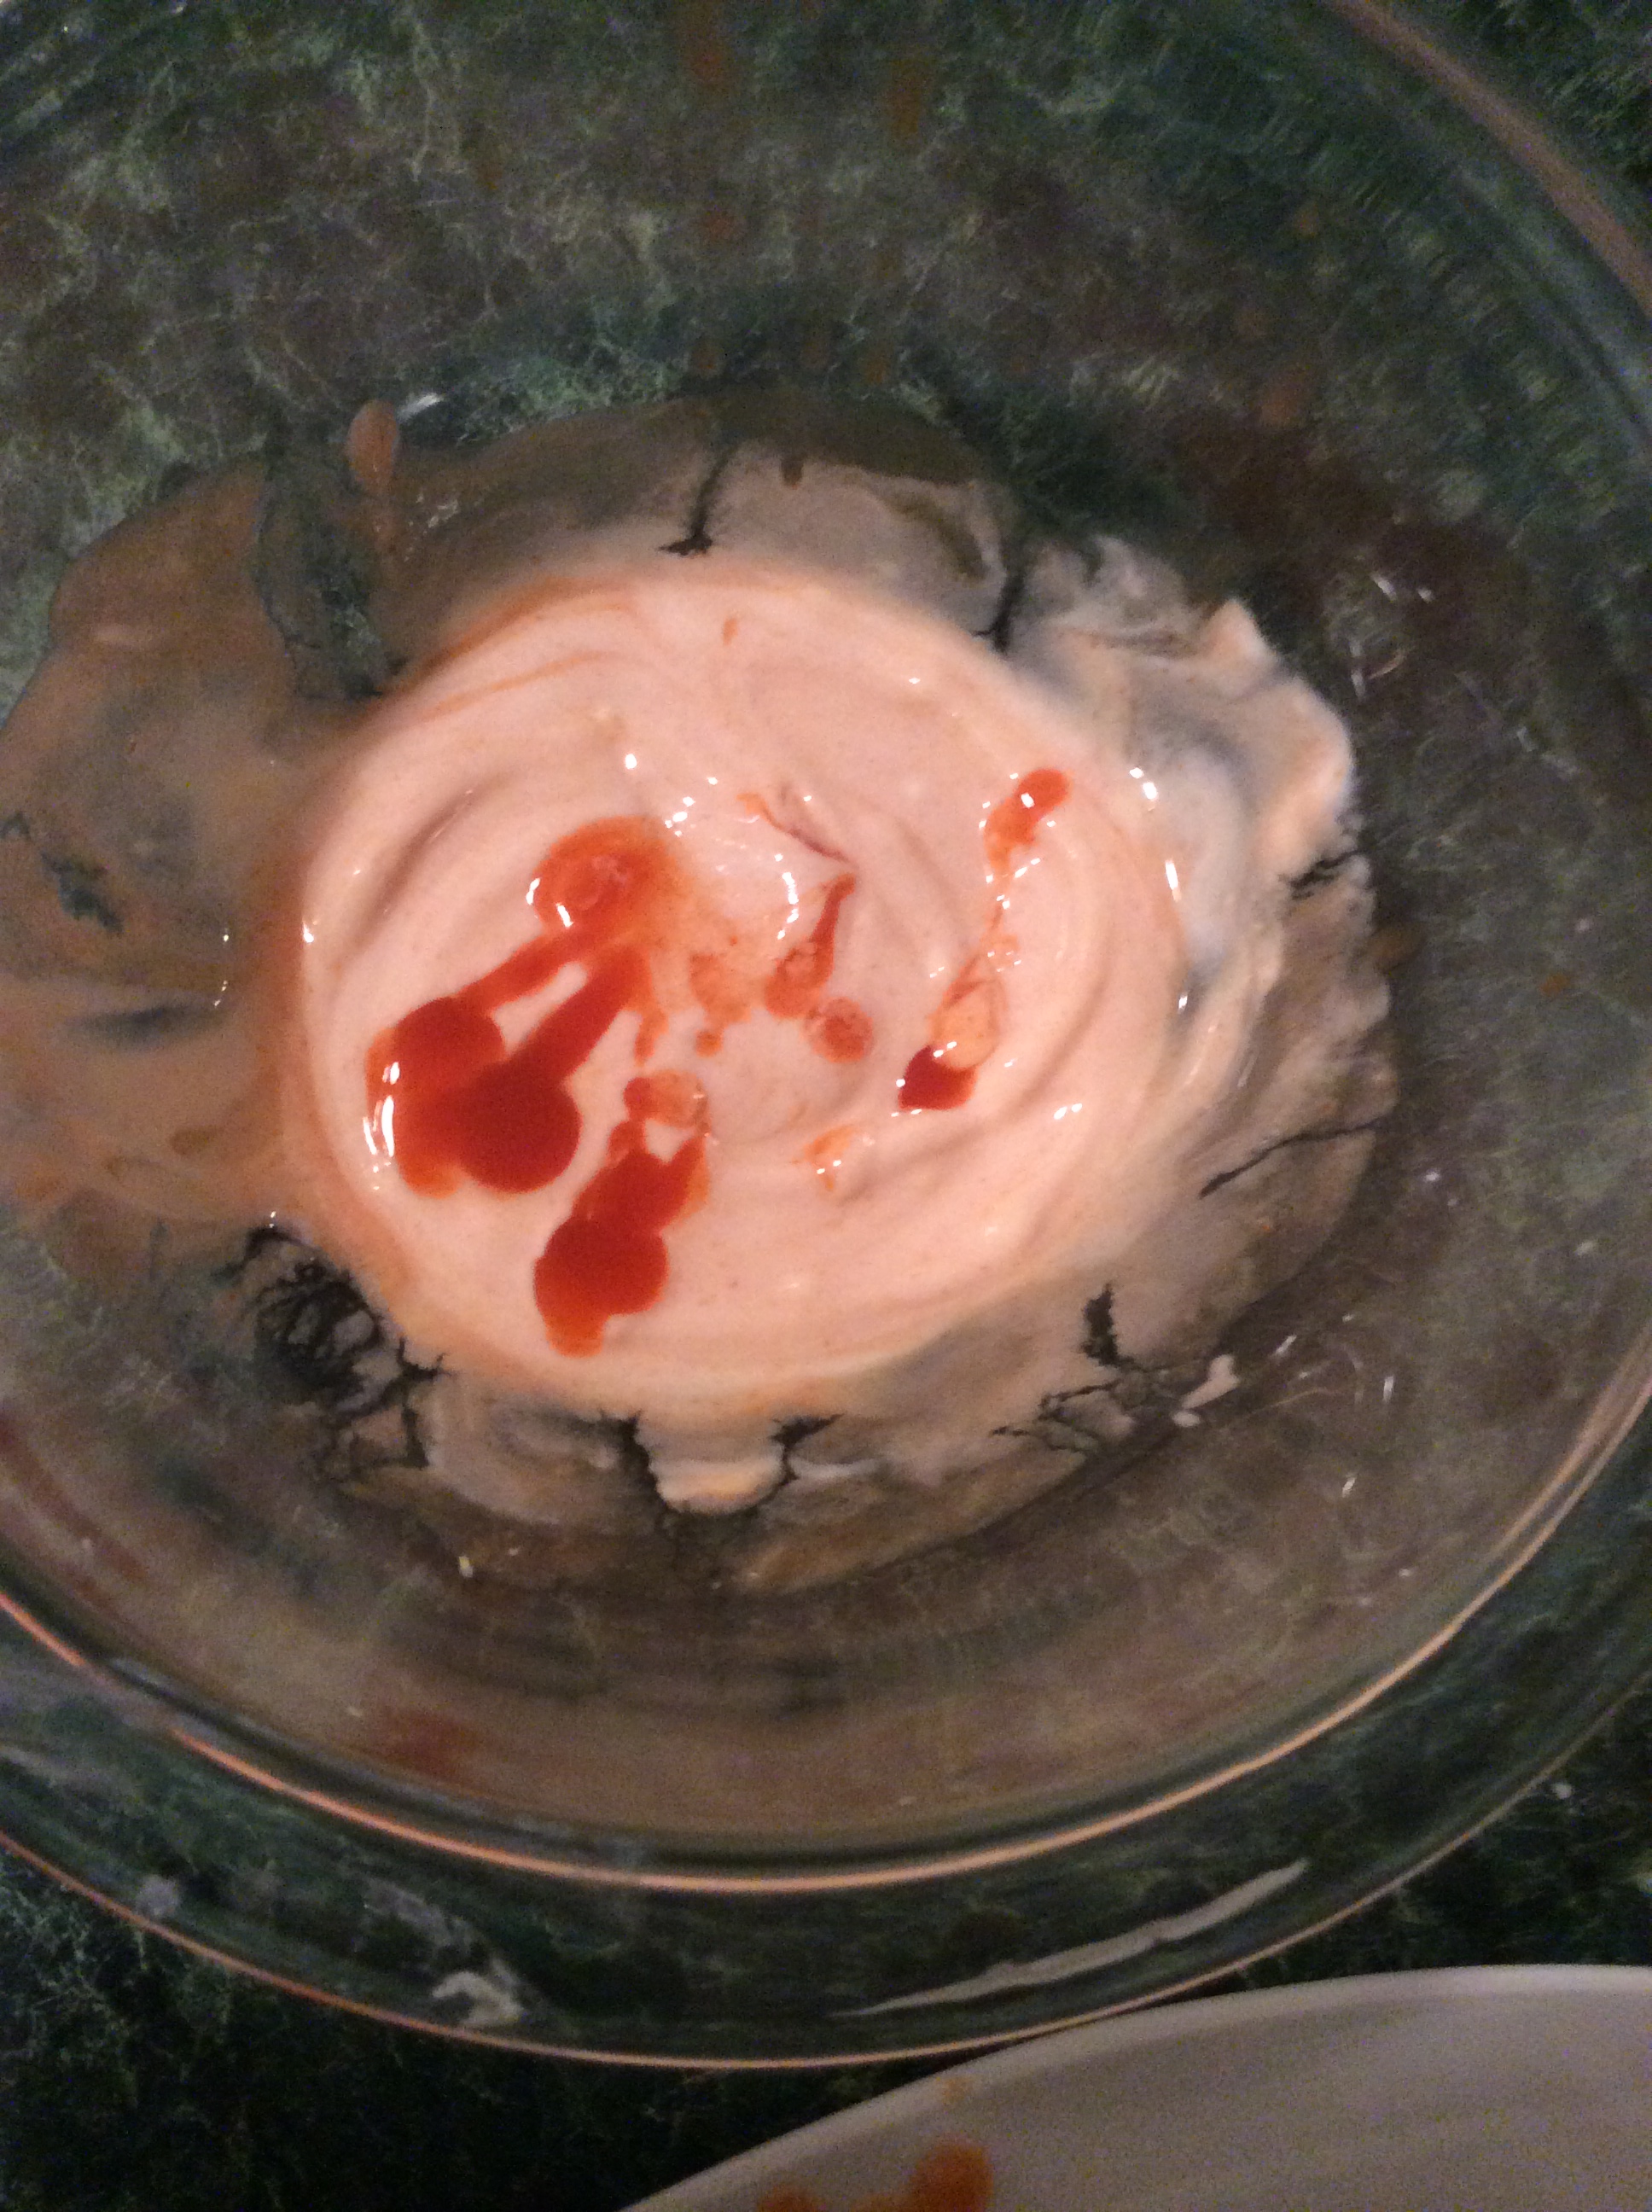
I also made a buffalo sauce, which consisted of 1 tablespoon (and a few extra dashes) of hot sauce and 1 tablespoon of plain greek yogurt. I threw in some diced fresh garlic. Blend the mixture and toss in the chicken. I then layered the pizza with the chicken first, followed by asparagus, cheese and red onions.

photo

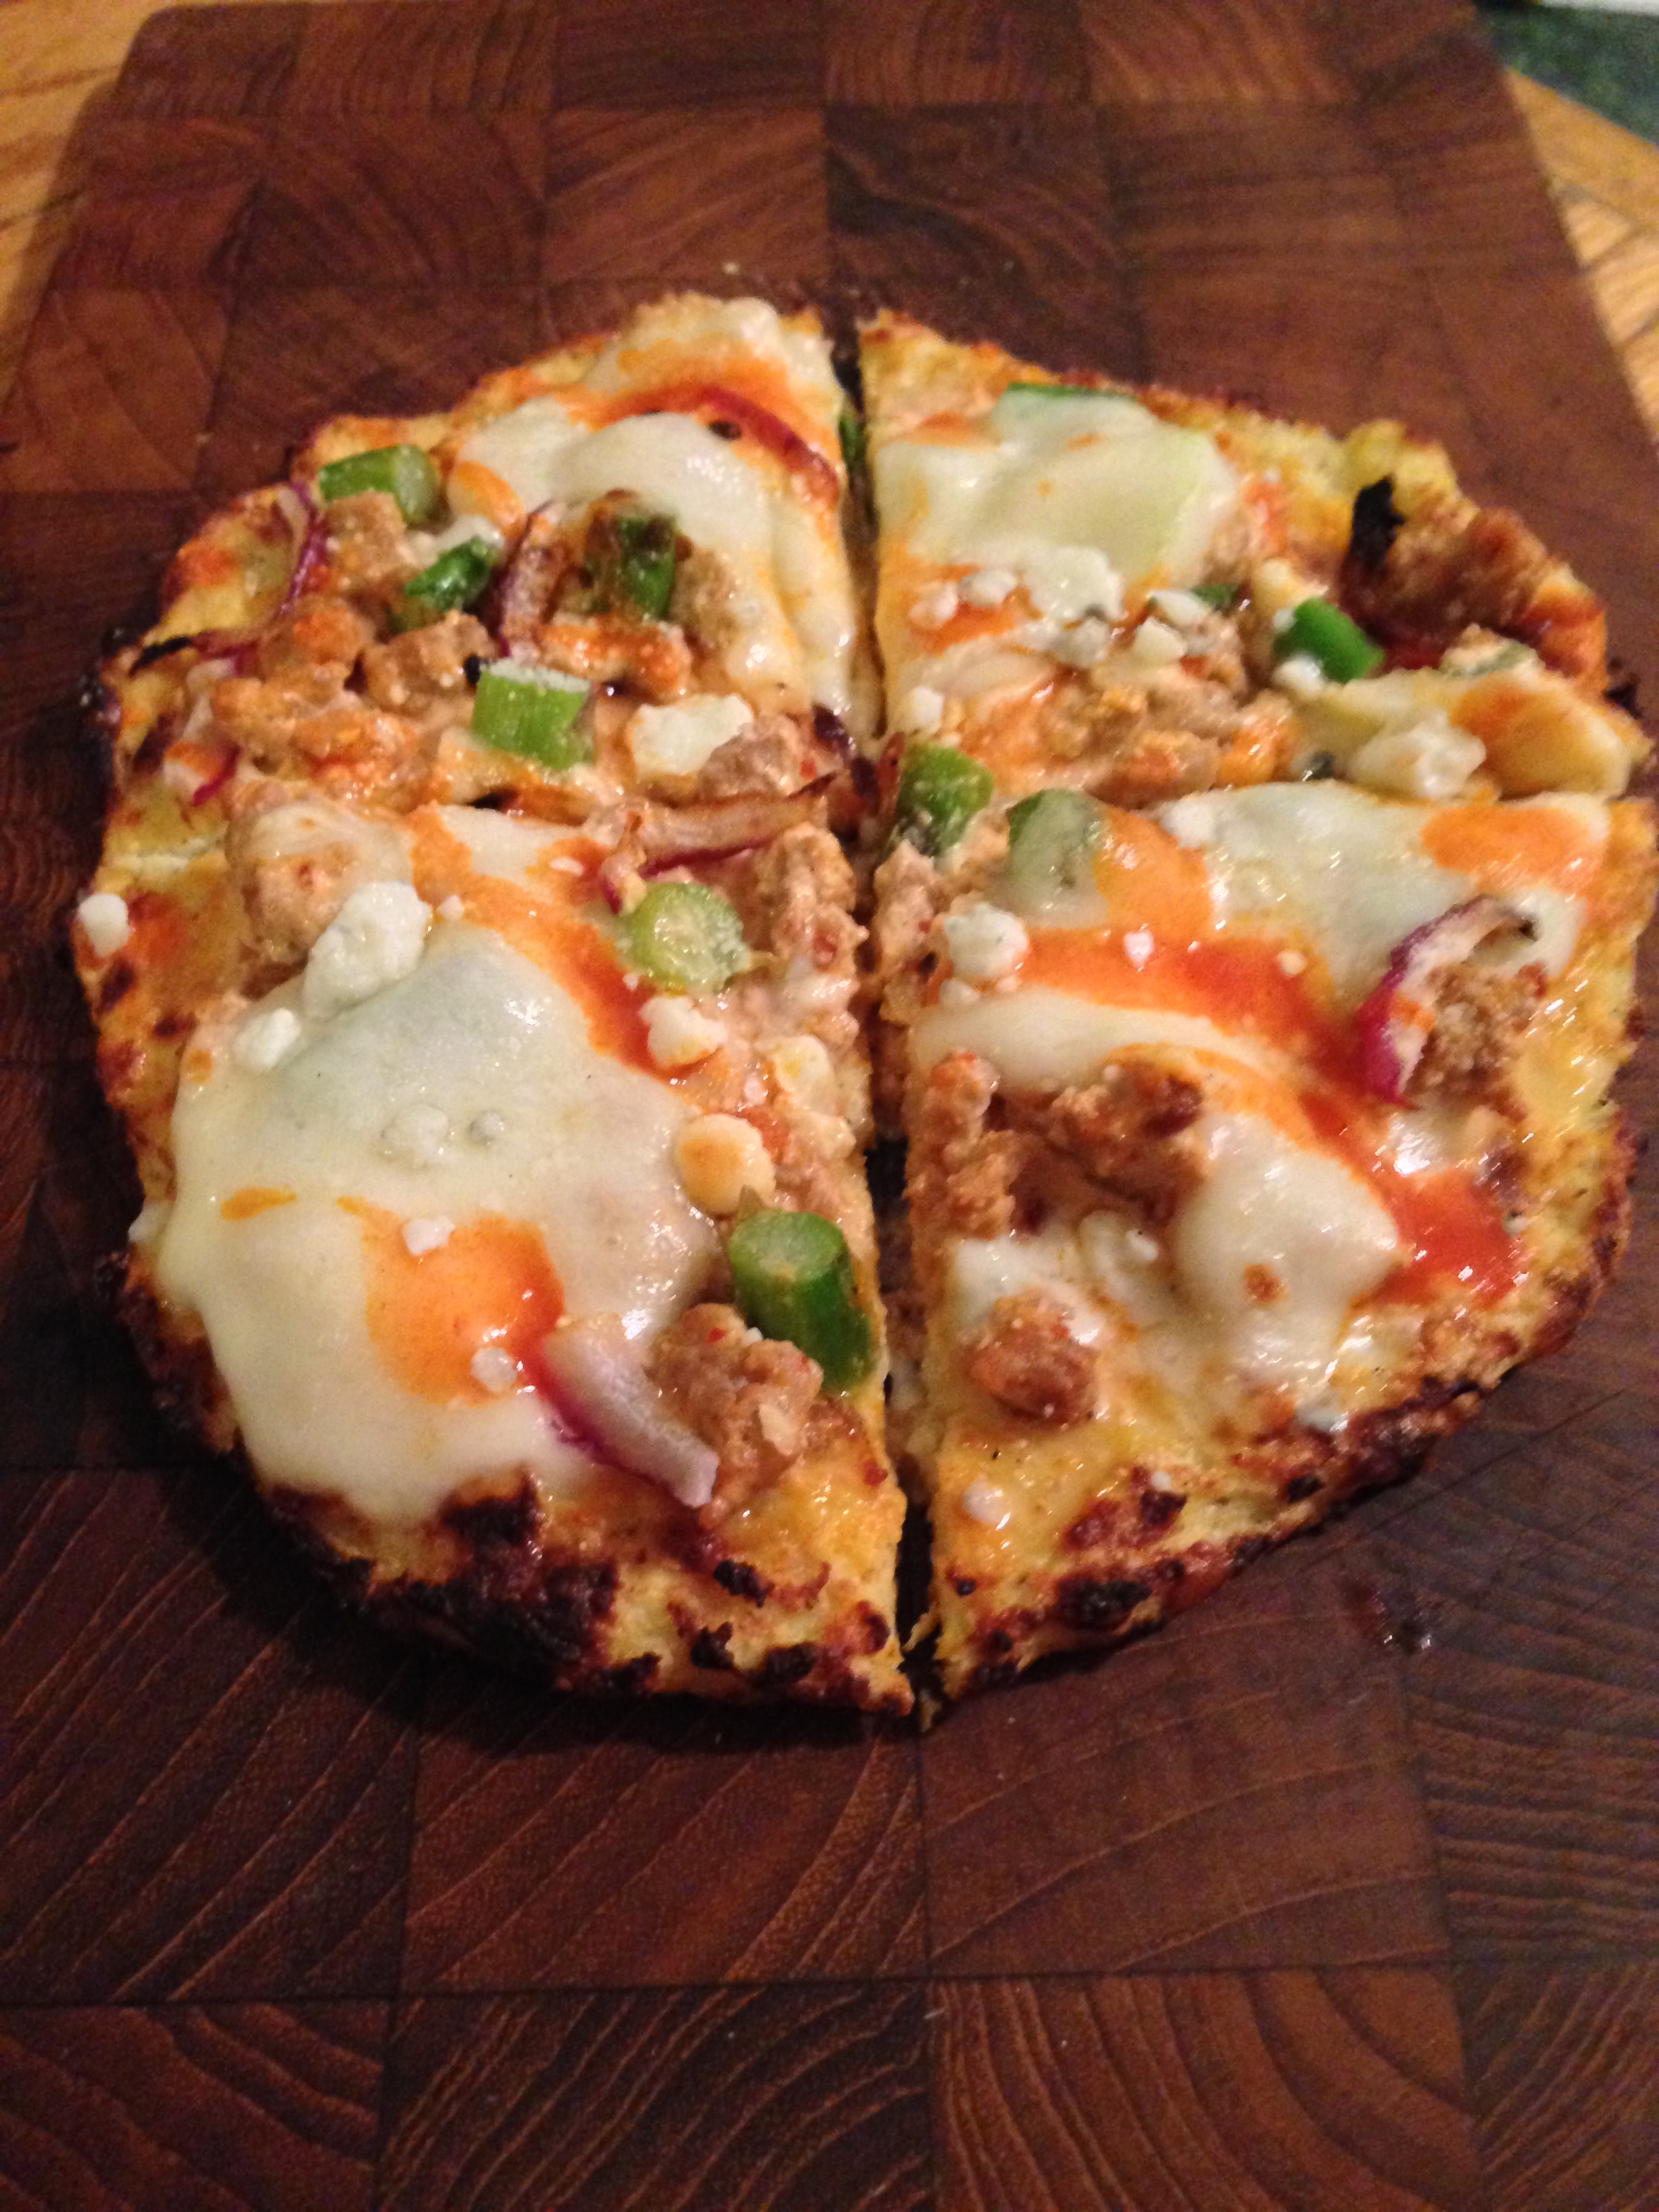
I cooked the loaded pizza for about 2 minutes, until I saw the cheese was starting to melt. I then stuck it in the broiler for about 2 additional minutes with a dash (or 5) of hot sauce. Watch it closely while in the broiler so it doesn’t burn. When the cheese starts to brown a little, it is DONE. I sprinkled some bleu cheese on for extra flair and dug in (alright fine, so I snapped some pics, and then dove in). Ultimate test of patience. Good luck!IMG_8025

Link Cauliflower Crust recipe: http://ifoodreal.com/cauliflower-pizza-crust-recipe/

Vegetable Stir Fry

photo 5

Tonight’s dinner was Asian themed. Since coming home from Disney World, I’ve been on a bit of an Asian kick. This is probably in part because it is one of the only types of food I didn’t eat while away, not to mention it is one of my favorites. Since I had sushi on Saturday (and I do not know how to make sushi), I figured a solid veggie stir fry would do the trick. An added bonus, since it’s Monday (and I try not to eat meat on Mondays) I knew I could fill it up with lots of veggies and brown rice and feel full and satisfied after. (For about an hour until I want something sweet- I will definitely be hitting up my PB cookies from yesterday)!

The prep for this made up recipe is fairly simple. I should warn you though, I am going to wing the measurements to recreate it (I am not 100% sure of the exact) but I have faith in you, you got this!

photo 1

Since I went to the grocery store yesterday, I had a ton of fresh veggies to choose from. I chose about half a cup of broccoli (although I would use more next time because Asian style broccoli is BOMB), cauliflower, a handful (roughly 10) string beans, about 1/2 a small green pepper, 4 baby carrots (chopped), and a 1/4 of an red onion. I will get to the marinade later…for now, throw about 1 tablespoon of olive oil in a pan with 1 clove of garlic (pressed and minced), along with your chopped onion.

photo 2

Give it about 5 minutes on medium heat (no more than a 6 on the knob), until you smell the garlic and onion frying in the oil. When you see the garlic turning brown, its time to toss in your veggies.

photo 3

While your veggies are cooking in the olive oil, garlic, and red onion mixture (don’t forget to stir it around) for about 6 minutes, you’ll notice the greens turn a deep, vibrant shade of green. While this is happening, you want to begin to prepare your marinade. I used about 5 teaspoons (or roughly 1 and 1/2 tablespoons) of low sodium soy sauce, about 1 teaspoon of hot chili sesame oil (Note: you can use regular sesame oil if you are not a fan of the spice), and a teaspoon and a 1/2 of apple cider vinegar. I also added a nice drizzle of Sriracha and a couple of shakes of red pepper flakes. Again, feel free to omit the previous two ingredients if not a fan of spicy foods. As you know, I am freakishly in love with spicy food and can’t say that I didn’t think “OMG my mouth is on fire” while devouring this dish (and I loved every second of it). I also threw in some freshly grated ginger, about a small nub, which probably equaled about an 1/8 of a teaspoon. I’m also a huge fan of ginger so may use extra next time. This is one of those marinades you will want to taste as you go. Use your palette as your guide.

photo 4

Back to the cooking, once the veggies look bright and have been cooking in the garlic and oil for about 6 minutes, pour on the marinade. Cook for another 8 minutes or so, turning often to ensure the bottom/marinade doesn’t burn. Taste as you turn every couple of minutes to test the texture of your veggies. I like mine to be flavorful and soft, but with a nice fresh crunch (not too soggy).

Once the marinade and veggies are coming together, I brought a pot up to a boil and made some brown rice (again, stirring to ensure the bottom doesn’t burn). (Note: Make sure you are using “Minute Brown Rice” or it’ll take you about an hour to cook the rice.) I made about 1/2 cup of brown rice and found that I could not finish it all. (1/2 cup rice to 1/2 cup of water). Taste the rice as it cooks as well to make sure it is a texture to your liking.

Time to plate: I put the rice on the bottom of the bowl, layered with my veggies, and sprinkled some sesame seeds on top. xiăngshòu! (or enjoy, for those of you who don’t speak {Google} Chinese) 😉

photo 5

Peanut Butter Cookies

IMG_8050

After traveling last week to Disney World, my sweet tooth has been activated. They say sugar is like crack – in that it emits the same chemical in your brain (dopamine). Well after churros (ok, churro), Mickey waffles, and cookies throughout the week, you can call me a straight up sugar addict because I want more.

In getting back into the swing of things, I decided to test out a healthier cookie. I went to Pinterest and entered several search terms of ingredients I had (since I just got back and had not yet ventured to the food store). I picked peanut butter, eggs, chocolate chips (I had carob chips), and let the search engine do the rest.

The recipe was quick and easy, having you once again – mix the dry ingredients {oats, baking soda, salt, stevia (or other sugar like product), vanilla protein powder} separately from the wet {egg, egg white, peanut butter, applesauce}.

IMG_8026

Yup, that’s the creamy peanut butter (microwaved for 30 seconds so that you can easily pour and mix).

After you have blended the separate ingredients well, mix them together. Finally fold in the chocolate chips (again, I used carob).

IMG_8028

Wet your hands and dig in there, rolling small balls for your parchment paper lined baking sheet (your oven should be preheated to 350F). When all of your balls have been rolled and separated, push down gently with a fork. {Insert ball joke here}

IMG_8032

The easiest part is up next, simply pop them into the oven for roughly 8-10 minutes. As you know by now, my oven cooks things faster that most recipes call for, so I left them for about 7-8 minutes. I pulled them out when I felt like they were going to burn. I removed them from the baking sheet and placed them on a cooling rack (checking the bottoms to make sure they were golden brown). I let them cool (okay, I let most cool) for about 15 minutes before putting them into an air tight tupperware (see above).

IMG_8046

They came out delicious. I will definitely be bringing them into work  tomorrow to keep me from housing too many to my face. They are chewier than anticipated, however, still hold up well when dunked in almond milk and the combo is divine.

IMG_8044

Happy baking!

Recipe from Dashing Dish

Preheat oven to 350F Bake: 8-10 min

  • 1 c Peanut butter
  • 1 Large egg, 1 Egg white
  • 2 tbs Applesauce
  • 1/4 cup Vanilla protein powder
  • 1 cup Old fashioned oats (use gluten free if sensitive)
  • 1 1/2 cup Baking stevia OR 1 cup sweetener of choice that measures like sugar
  • 1/8 tsp Salt
  • 1 tsp Baking soda
  • Optional (but recommended) : 2 tbs Carob chips

Kind Bars

IMG_7846

I’ve been meaning to try out Primal Bites recipe for homemade Kind Bars for a while {recipe link below}. The recipe sounded delicious and would not cost me nearly as much as purchasing Kind Bars ($2 per bar). This week I’ll be traveling to DISNEY WORLD for a work conference. My co-worker and I are on a mission to eat healthy and be budget conscious during our trip – which is a very new concept to me for vacation. I figured there was no better time to attempt Primal Bites granola bar recipe, than when I needed some quick on the go snacks for my trip!

The recipe was super simple and very similar to making regular granola, except more, much more nuts and seeds. Most of the ingredients I had in the pantry and are used on a regular basis. It calls for almonds, raisins (I used cranberries), coconut flakes, sesame seeds, chia seeds, pumpkin seeds, sunflower seeds, and other nuts of your choice (I chose walnuts and added flax). You will also need coconut oil and honey (I used agave nectar). First, you mix and roughly chop the dry ingredients. FullSizeRender 9

While I chopped the ingredients and mixed them together, I microwaved the coconut oil for about 40 seconds. I then added the honey into the bowl and stirred the mixture using a whisk to ensure it was blended. The dry ingredients are added into the bowl and tossed to make sure it’s evenly coated.

IMG_7837

Next you spread the mixture evenly onto a parchement paper lined cookie sheet. I opted for a smaller cookie sheet so the bars were a similar thickness to the Kind Bars. You bake for 15 minutes (I did 13, knowing my oven). You then let it cool for 20 minutes on the counter before sticking it in the fridge for 20 more. After 20 minutes in the fridge bars will be set and ready to cut. I chose to leave the bars in longer to really make sure they were firm. After about an hour, I took them out and cut them into individual bar sized chunks. The recipe made about 14 bars total. I individually wrapped them in Saran Wrap and stuck them back in the fridge.

I was really surprised with how similar they tasted to Kind Bars. I will definitely be making this recipe again and keeping bars handy for when hunger strikes. 🙂

FullSizeRender 8

Recipe link: http://primalbitesblog.com/2013/08/14/paleokindbars/

Chocolate Protein Pancakes  


As it is Valentine’s Day, I woke up craving chocolate. Chocolate protein pancakes were the perfect balance between fulfilling my craving and keeping in line with my new clean eating lifestyle. 

I had previously tried several recipes for chocolate pancakes and found that while they were delicious, at times they could be rather thin. This morning I set out to try and make them by using the same recipe as the vanilla pancakes (see previous post), substituting the chocolate protein powder instead of the vanilla.  

The recipe is 1 mashed banana (this time using my fabulous potato masher 🙌), 1 scoop of chocolate protein powder, 2 egg whites, 1/8 teaspoon of baking powder, and a nice sprinkle of cinnamon. The baking powder helps the pancakes become a nice fluffy texture, which as previously mentioned, was missing from other recipes. 


The batter will be a thick (ish) mixture. I used a ladle to pour it into the sprayed pan. This helped to not spill/drip the batter anywhere other than the desired location. 

Wait until the pancakes bubble and flip! They cook much faster on the second side, so don’t get distracted! A clear example of do as I say not as I do. 😉

They take about 5 minute on the first side versus 2 on the second. 

As today is a day of sweet indulgence, I added a shmear of peanut butter to each level of the stack. I also sprinkled some flax and chia seeds for an added crunch. 

I’ll keep this post short and sweet, as my similarly described  pancake stack is ready to be consumed. 

Wishing you all a happy valentine day! Enjoy! 


Sweet Potato Pizza

In honor of National Pizza Day, I had to revisit an old recipe. While the initial recipe came from Insprialized, link below, I’ve since become a pro at making this pizza. I’ve cut down on portion size {1 small sweet potato and one egg} and added garlic powder and red paper flakes, which if you’ve read some of the other posts, you realize I like my food SPICY. You can also add salt and pepper, however, I chose not to.

IMG_7791

The recipe and prep for this meal is fairly simple, albeit a tad time consuming. You will need a Spiralizer (using blade C- the skinny spaghetti blade). I cut the ends off the potato, peeled it (although I usually don’t, since the skin is where all the nutrients are), and stuck it on the Spiralizer. Make sure the suction cups are good and secure to the surface you’re working on. This will help to get the momentum going and allow you to get a fast spin going to spiralize that veggie (which was pretty challenging today since I did over 100 push ups during my workout – thanks, Bachata and Barbells).

Next you throw the sweet potato into a pan with either olive oil or cooking spray (I use the cooking spray). You want to cook the noodles until they turn a deeper orange color. If you are unsure of the color, you can follow my suit and give ’em a taste. They should no longer have the raw crunch and should taste like a sweet potato fry (yum).

IMG_7792

They then go into a bowl with the egg (if using 1 potato, you can cut down the amount of egg used). The egg binds the noodles and allows them to form the crust. The next step is a little strange but it is important. You want to transfer the noodles back into a skillet or pan, roughly the size you want your crust. The noodles should all be touching, seeing no holes through them.

FullSizeRender 5

You want to really pack them down, placing a piece of plastic wrap, parchment paper, or wax paper over them, and put a heavy object on top (a pot does the trick). Stick them in the fridge for about 15-20 minutes, the longer the better. Again, this allows the noodles to set together.

FullSizeRender 6

While letting the noodles set in the fridge, I prep the toppings. This time, since it was a Meatless Monday, I chose to use my left over grilled veggies from lunch (yay snow day!), a simple red sauce which I tweaked by adding some fresh garlic and basil, and shredded mozzarella.

When the noodles come out of the fridge, place the pan back on the stove over medium heat. Cook the first side for 5 minutes. While this is heating, have a second pan nearby. This makes for a seamless flipping situation. Again, coat the pan with either olive oil or the cooking spray. Cook the next side for another 5 minutes. I then add the toppings letting it cook for another minute in the pan. To melt the cheese and fully warm the toppings, I stick it in the broiler for another 3 minutes or so *WATCH IT, IT CAN BURN FAST*.

FullSizeRender 7

While nothing can ever replace the real deal in my heart, this is a delicious substitute. Depending on your toppings, it may get a little heavy. This is the one and only time I give you permission to eat PIZZA with a fork and knife. 🙂 Enjoy!

Recipe link: http://www.inspiralized.com/2013/08/17/recipe-gluten-free-margherita-spiralized-pizza/#more-1832

Pesto Zucchini Noodles with Chicken Sausage

After putting off trips to Shop Rite everyday since Wednesday, it was definitely time to replenish the produce for the upcoming week. Especially considering there’s another potential snow storm coming (Pleaaaase, another snow day!). Well fast forward to Sunday and I was still dreading getting in the car and going. If you are a Shop Rite regular, as I am, you know that the Sunday afternoon crowd is anxiety inducing (not to mention the produce is picked over and in desperate need of a restock). Since I was in the market for produce only – I figured why not check out some of the finer produce markets in town.

After picking up some of the everyday staples (spinach, arugula, cucumbers), I paced up and down the aisles looking for some dinner inspiration. Keeping with the fresh theme and after getting a whiff of basil, I decided to go with a pesto sauce. I knew off the top of my head (okay, so I may have recently been looking at some recipes) that pesto is made with fresh basil, pine nuts, parmesan cheese, garlic and olive oil. After some more aimless wandering and picking out the perfect zucchini for the noodles, I came across organic chicken sausage. This will add an authentic taste and excellent texture to the vegetable pasta.

I prepped the pesto in the essence of saving time later. It was extremely easy as, once again, all I had to do was measure and plop the ingredients into a food processor. I used a recipe converter (because I’m terrible at math) to convert the recipe {Gimme Some Oven link below} that made 2 cups of pesto, which is way too much pesto for little old me. I figured half a cup was plenty for dinner and perhaps a grilled veggie sandwich during the week.

I used fresh parmesan cheese (still left over from Super Bowl), but the jarred kind will work just fine. I added the pine nuts and garlic cloves on the bottom (closer to the blade) and then the cheese, basil, and a personal addition of spinach to pack in extra greens. Pulse ingredients until chopped and well blended, slowly adding the olive oil as you go.

IMG_7762

I jarred the pesto and stuck it in the fridge until I was ready to cook dinner.

IMG_7766

When it was finally an appropriate dinner time, I began prepping the rest. First I spiralized one small zucchini with my Paderno World Cuisine Spiralizer, one of my favorite cooking tools. It is a glorified mandolin, turning simple vegetables into noodles, beautiful salads, or my personal fave, pizza (yes, pizza!, recipes coming soon).

IMG_7767

As I took out the chicken sausage (labeled as “spinach and garlic” -perfect!) to cook on the George Foreman grill, I read the packaging and found out it is already cooked! Not only does it save time to prep, but learning that I didn’t have to clean the grill – now that deserved a little dance.  I individually wrapped and froze the rest for a later date. I blotted the zucchini noodles with a paper towel (which helps absorb some of the exess water). I chopped the chicken sausage and threw it in the pan to heat up. I know that zucchini noodles take minimal time (about 5 minutes) as they really just need to be heated and slightly cooked to take out that raw crunch. I let the sausage fly solo for  about two minutes. I added the zucchini noodles and a dollop of pesto (5 points if you didn’t think/sing “dollop of daisy”). After a couple of tosses and the zoodles were evenly coated, I transferred it to a bowl, grated some more fresh parmesan and dug in!

IMG_7778

Recipe link: http://www.gimmesomeoven.com/how-to-make-pesto/

Update: Because I am lucky enough to have yet another snow day (I could really get used to these 4 day weeks), I was able to make a BOMB veggie wrap with the left over pesto. I grilled up some eggplant, red peppers, and red onions. I added some shredded mozzarella and pressed the whole wheat wrap on the George Foreman grill. The warms the wrap to match the temp of the veggies, as well as giving the nice cheese a nice gooey texture.

FullSizeRender 4

Vanilla Protein Banana Pancakes

Saturday mornings have become my favorite of the week. Not only can I sleep in and NOT have to go to work (woo hoo!), but I have also been on a journey to find the best healthy pancakes on Pinterest. I recently started using Nature’s Bounty Chocolate and Vanilla protein powders and have loved experimenting with them in recipes, other than just in a simple (albeit delicious) blended smoothie. From brownies to pancakes (which is what brings you here), I have experimented with quite a few of each and am dead set on narrowing down my favorite Saturday morning go-tos.

Today’s batch was definitely my top vanilla pancake that I’ve found so far (Link to Willowbird Baking site below). They come out extremely fluffy, which others have disappointingly not. They’re really easy to whip up in under 15 minutes and most of the ingredients you should already have in the house (if you have protein powder, that is).

This recipe contains mashed bananas, which makes the pancakes nice and sweet (see: Brownie “Bites”) without having to add any sugars or too much syrup.

Mash the banana with a fork. Really get aggressive and make sure they’re good and mashed. I use a large fork, but keep wishing I had a potato masher (which thank you Amazon Prime, will be here on Monday!)

IMG_7724

Next you want to add one 1 scoop vanilla protein powder, 1/8 tsp of baking powder (optional, but makes a  difference), and 2 egg whites (a substitute by choice not by recipe.)

IMG_7732

Mix the batter thoroughly to make sure there is no protein powder residue. Next, pour the mixture into a pan. Wait for the pancakes to start to bubble; or in my mind make holes and then flip them over with a spatula.

IMG_7734

Ahh, perfect! Wait about a minute, check the sides for any doughy looking areas, then they are good to go!

IMG_7735

Last step, the best step….plate and devour. I added a sprinkle of my fave homemade granola (duh!) and some fresh blueberries. Feel free to go wild on your toppings. Enjoy!

IMG_7738

Recipe link: http://willowbirdbaking.com/2015/01/20/four-ingredient-protein-pancakes-16-simple-healthy-meals/

Chocolate Peanut Butter Brownie “Bites”

After volunteering to bake something for work tomorrow, I ran (somewhat literally) to the store after a butt kicking workout class (okay, so I slowly waddled to the store!). I quickly grabbed some ripe bananas, peanut butter, blueberries, and eggs. I knew I could definitely find a healthier mini muffin recipe utilizing those ingredients in some capacity. While cooking up some dinner, I happened to touch my soon to be over ripe avocados. Knowing that I had seen some avocado baking recipes, I figured what better time to foray into an avocado baking experiment. I just couldn’t let those puppies go to waste! After doing minimal research on, you guessed it – Pinterest!; I stumbled upon a super simple recipe using their easy new search feature. It’s awesome, you just click the words of the things you are looking for (“healthy” “muffins” “peanut butter” “avocado”). Turns out, there are more results than I expected. I went with the first one (Heather’s French Press: see link below) and thankfully, it seemed like it wouldn’t take too long (man was I pooped!). The prep process was great (the clean up, not so much) in that all I had to do was plop the ingredients in my food processor and hit the HIGH button.

Ingredients: {1 ripe avocado (score!), 1 cup of peanut butter, 2 eggs, 3/4 cup unsweetened cocoa powder, 1/2 tsp baking powder, 1/3 cup of honey (which I substituted for Agave Nectar) – I also added cinnamon, just for fun} 
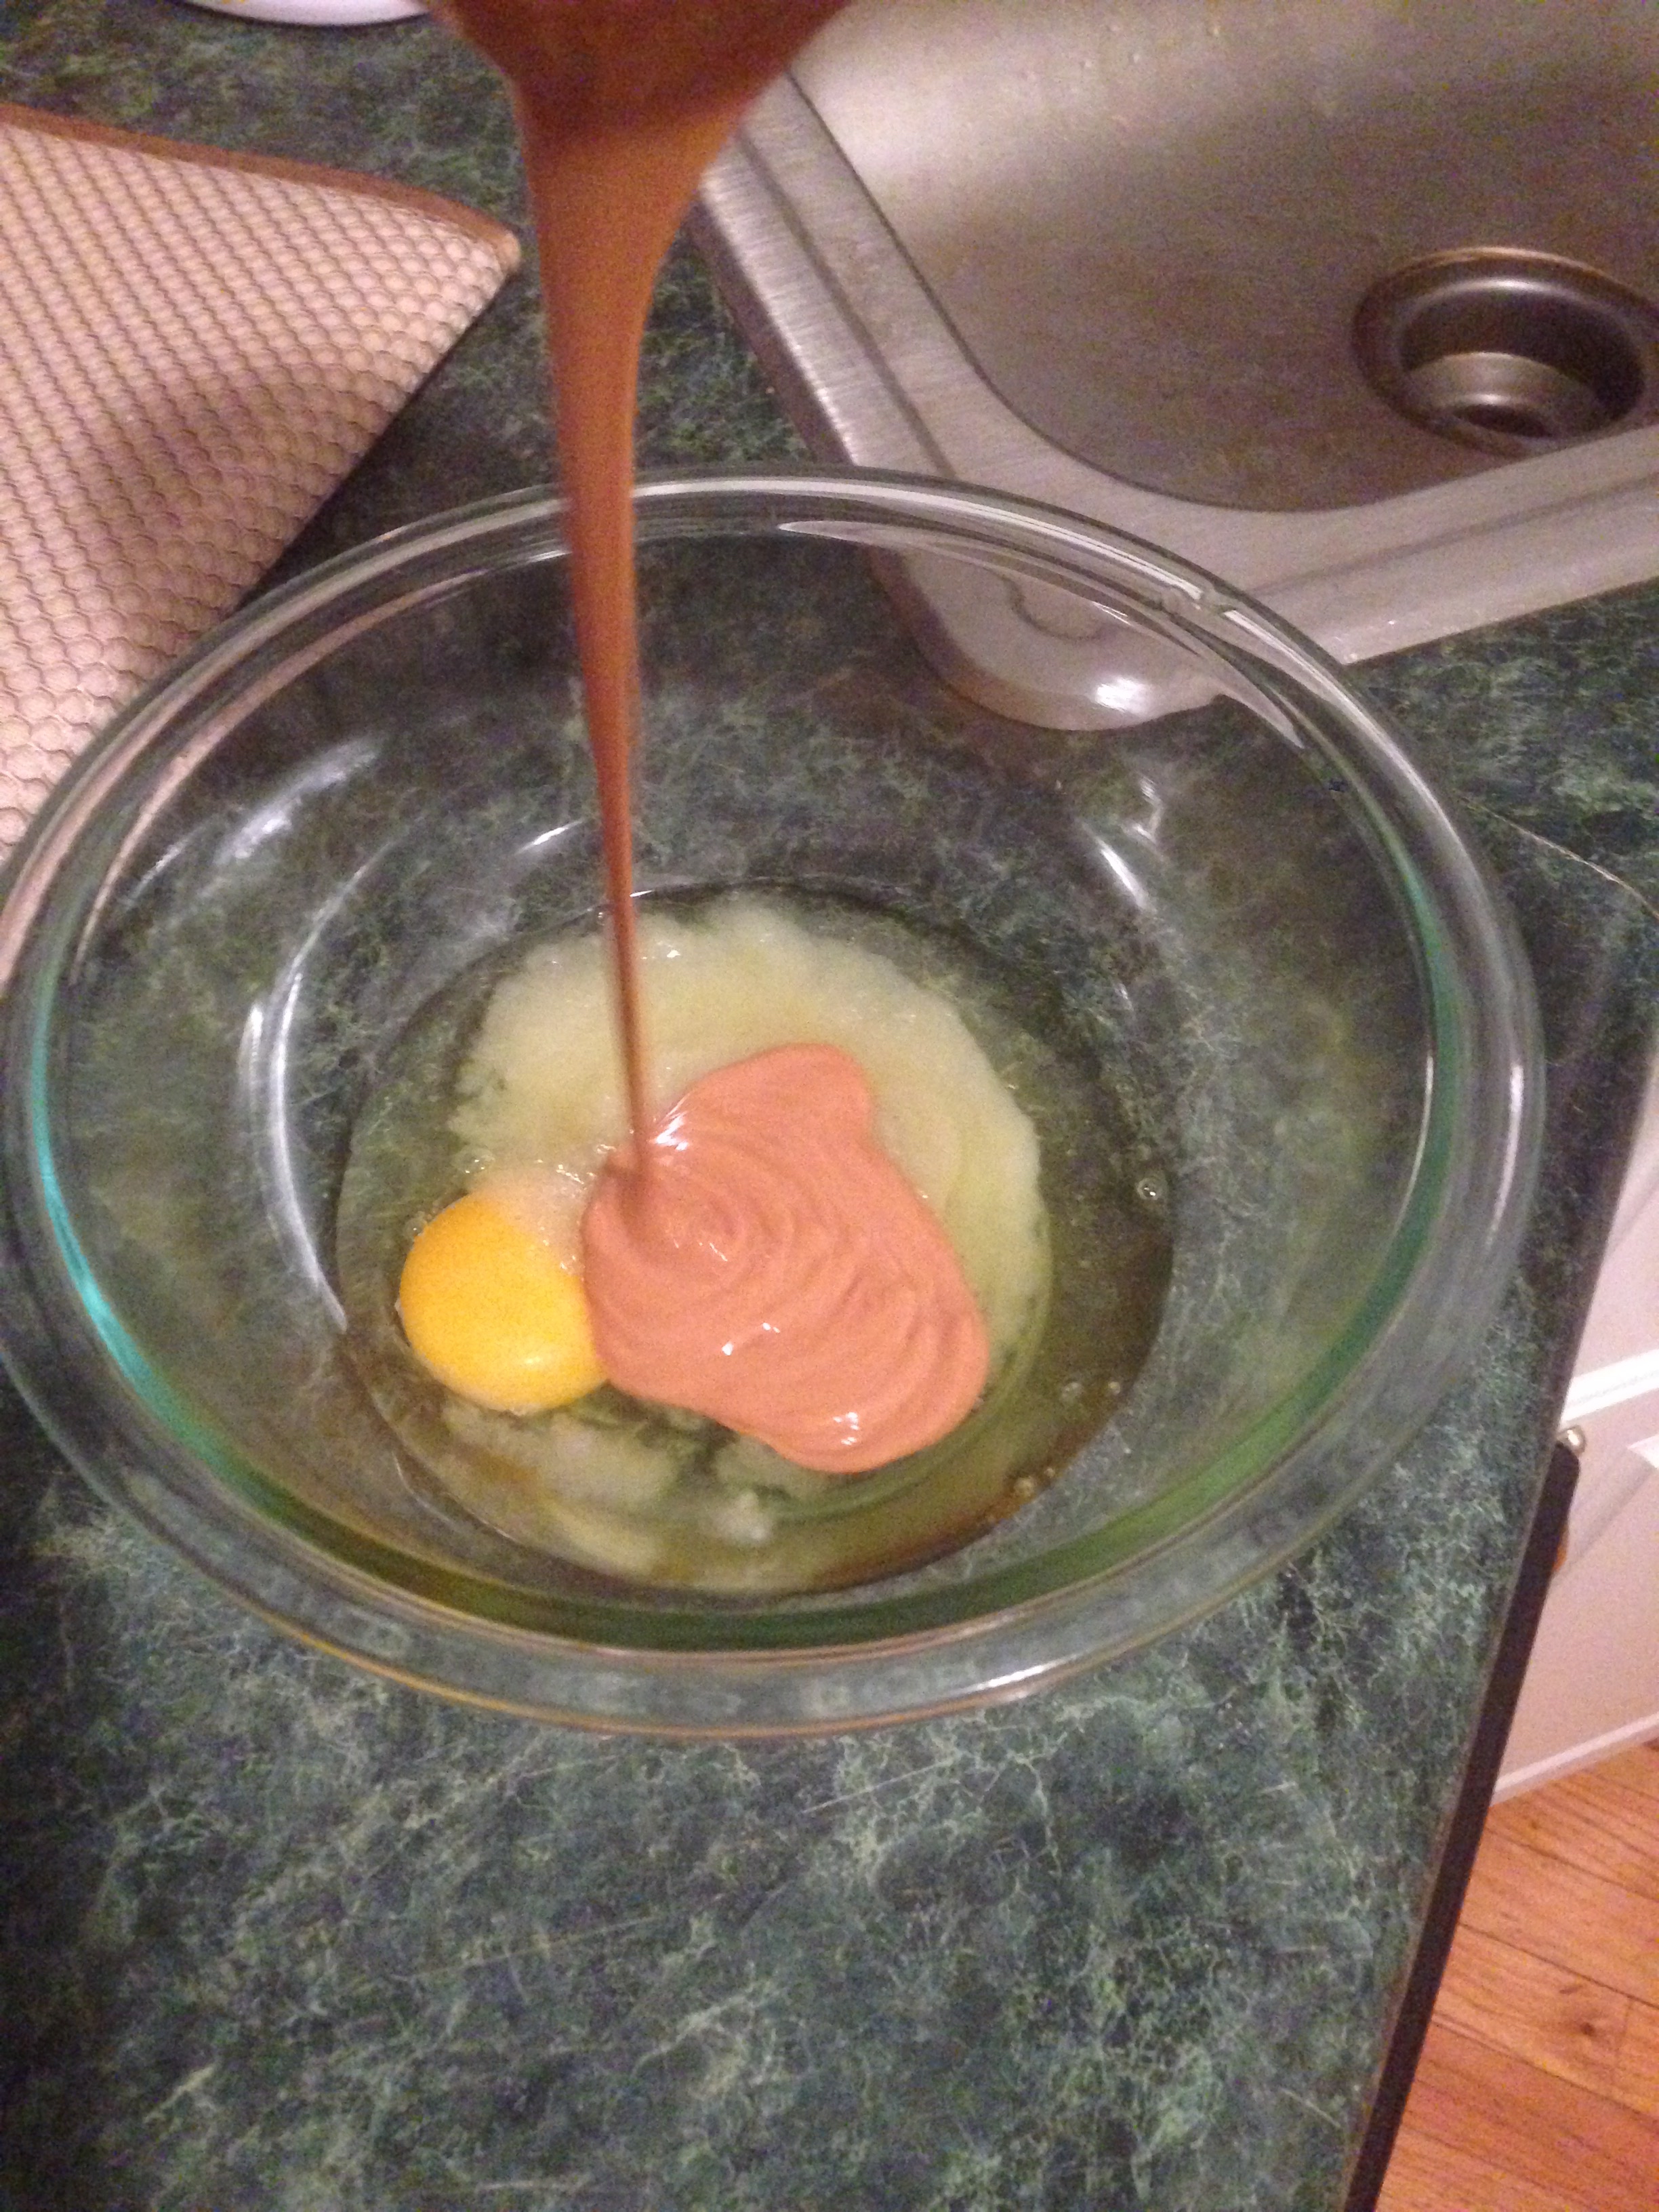
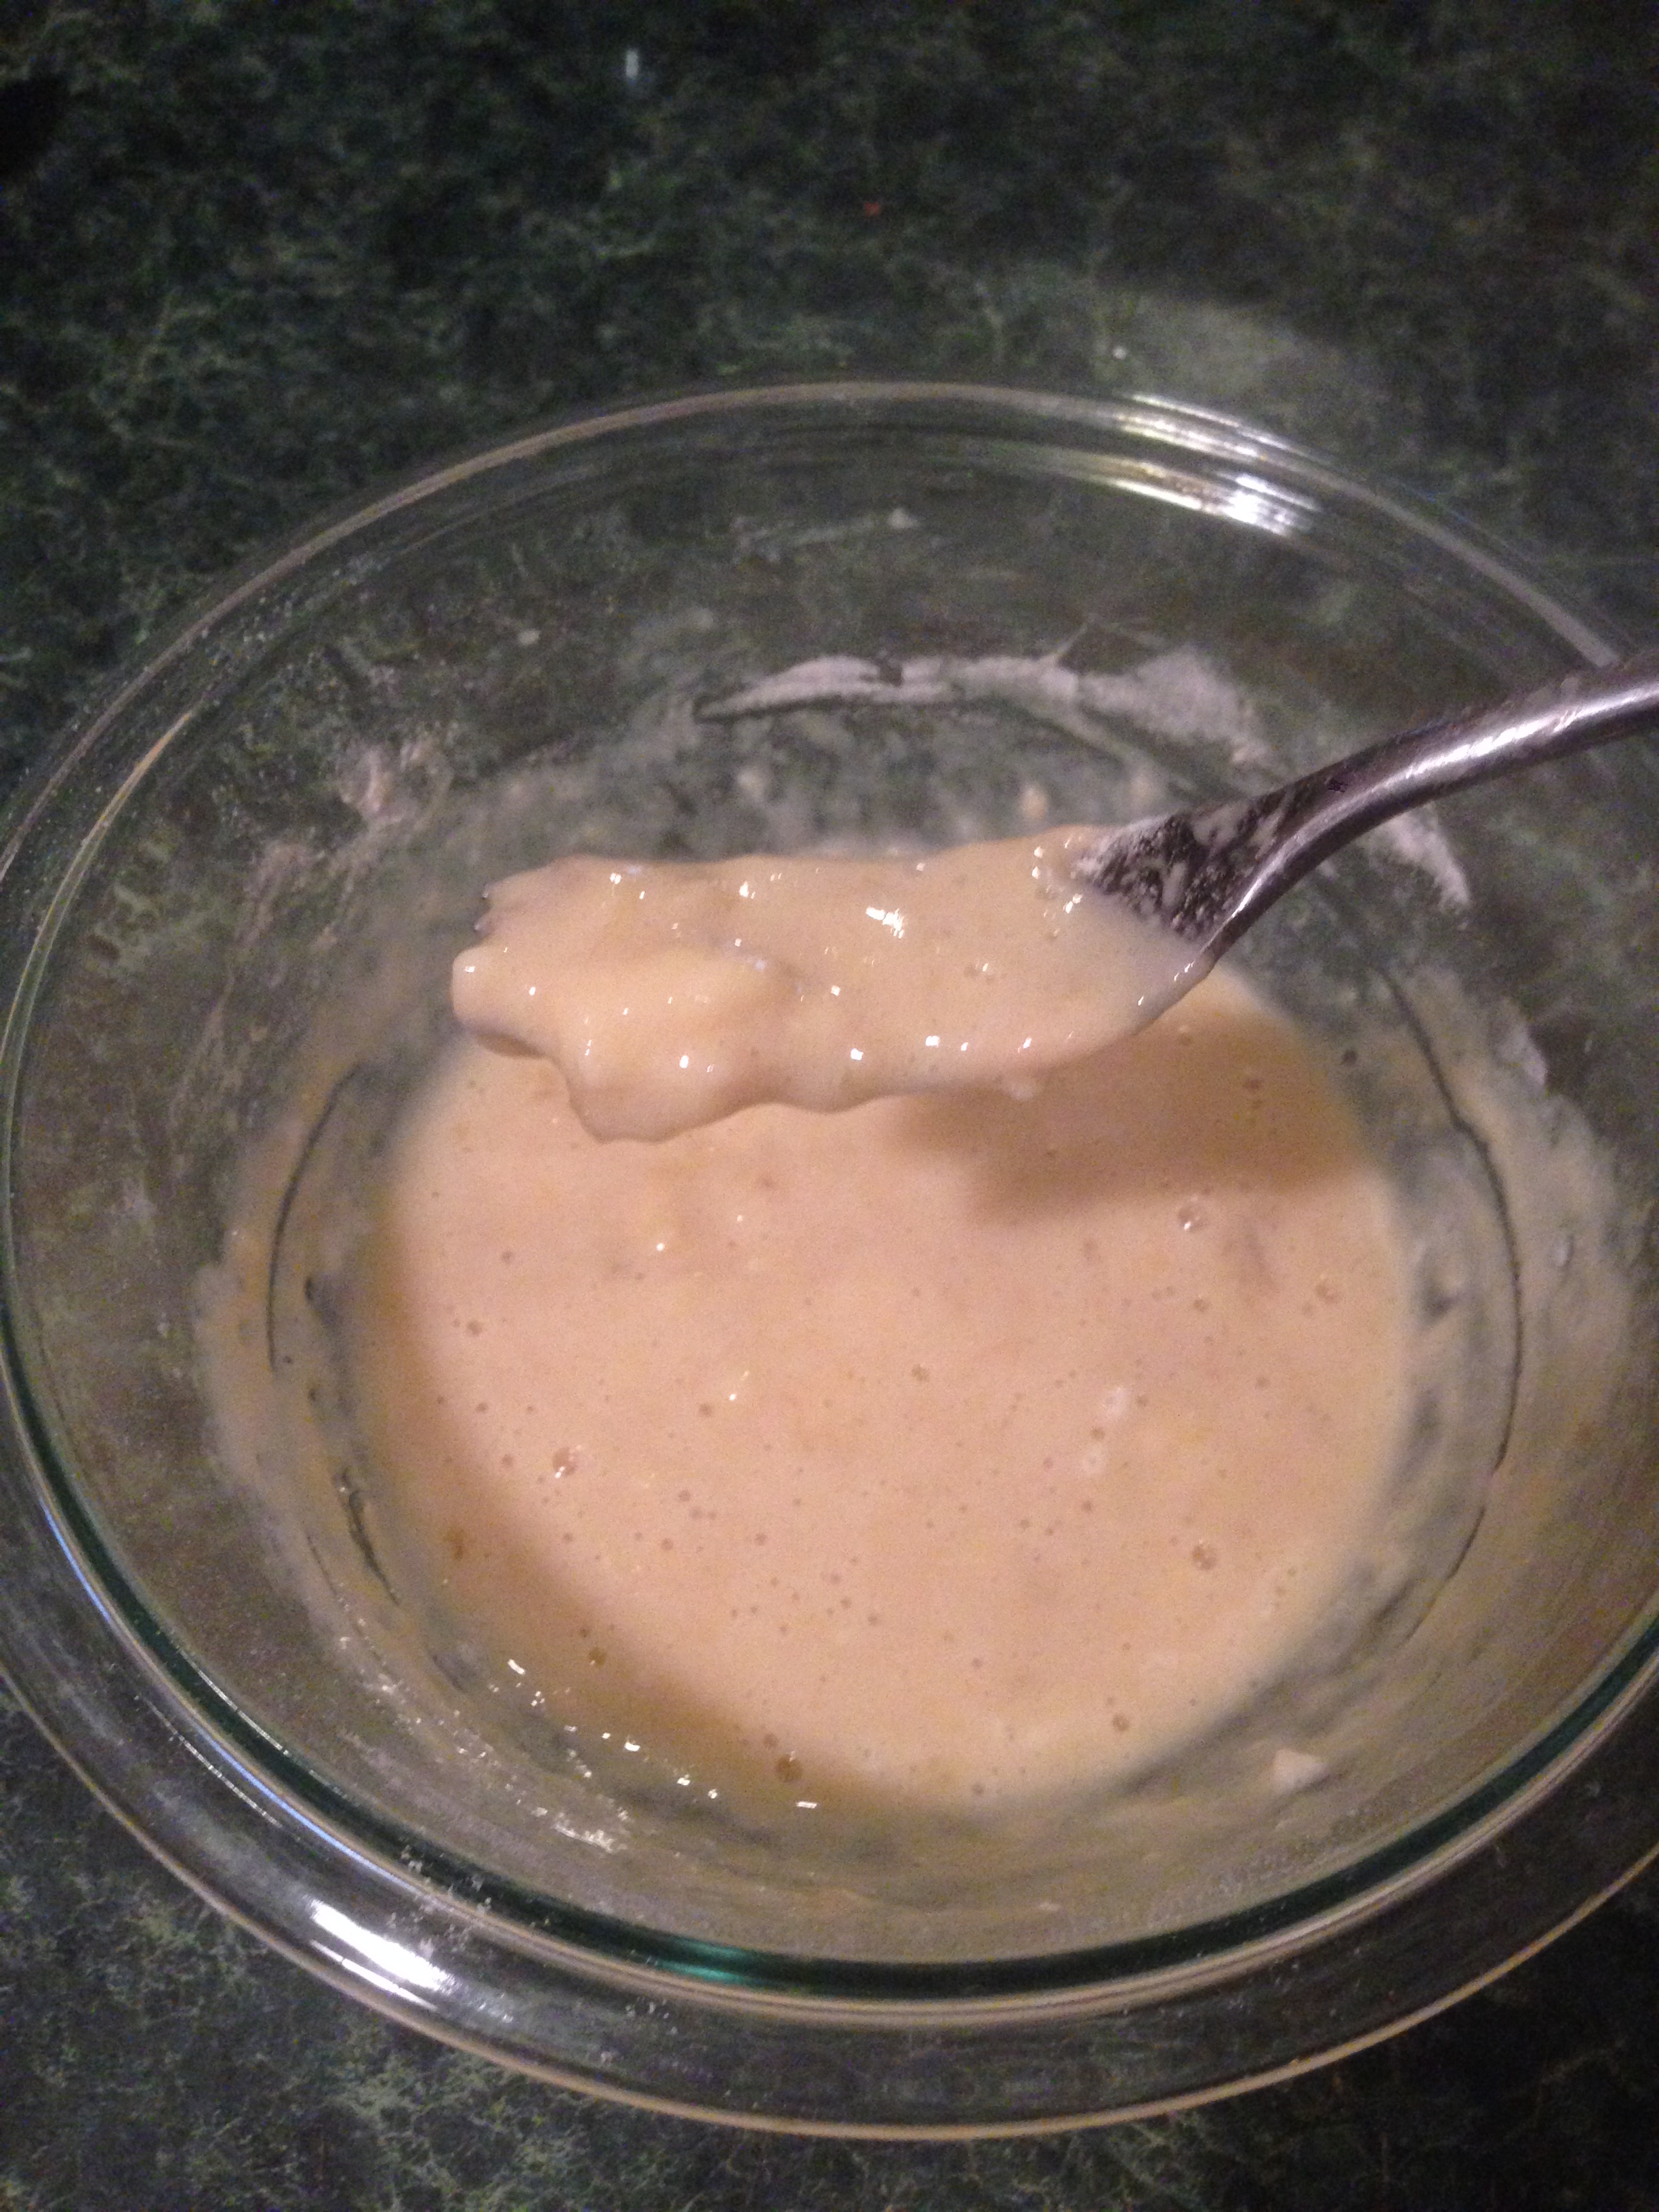
After the ingredients started to look relatively blended, I opened up the top to give the sides a good scratch to make sure all of the peanut butter was incorporated into the mixture….no PB left behind!  Next I took a tablespoon and scooped the THICK mixture into mini muffin tins. The recipe says it makes 16 muffins, however, I got roughly 27. (Note to self: FILL THE CUPS – hence the “Bites” Whoops!) 
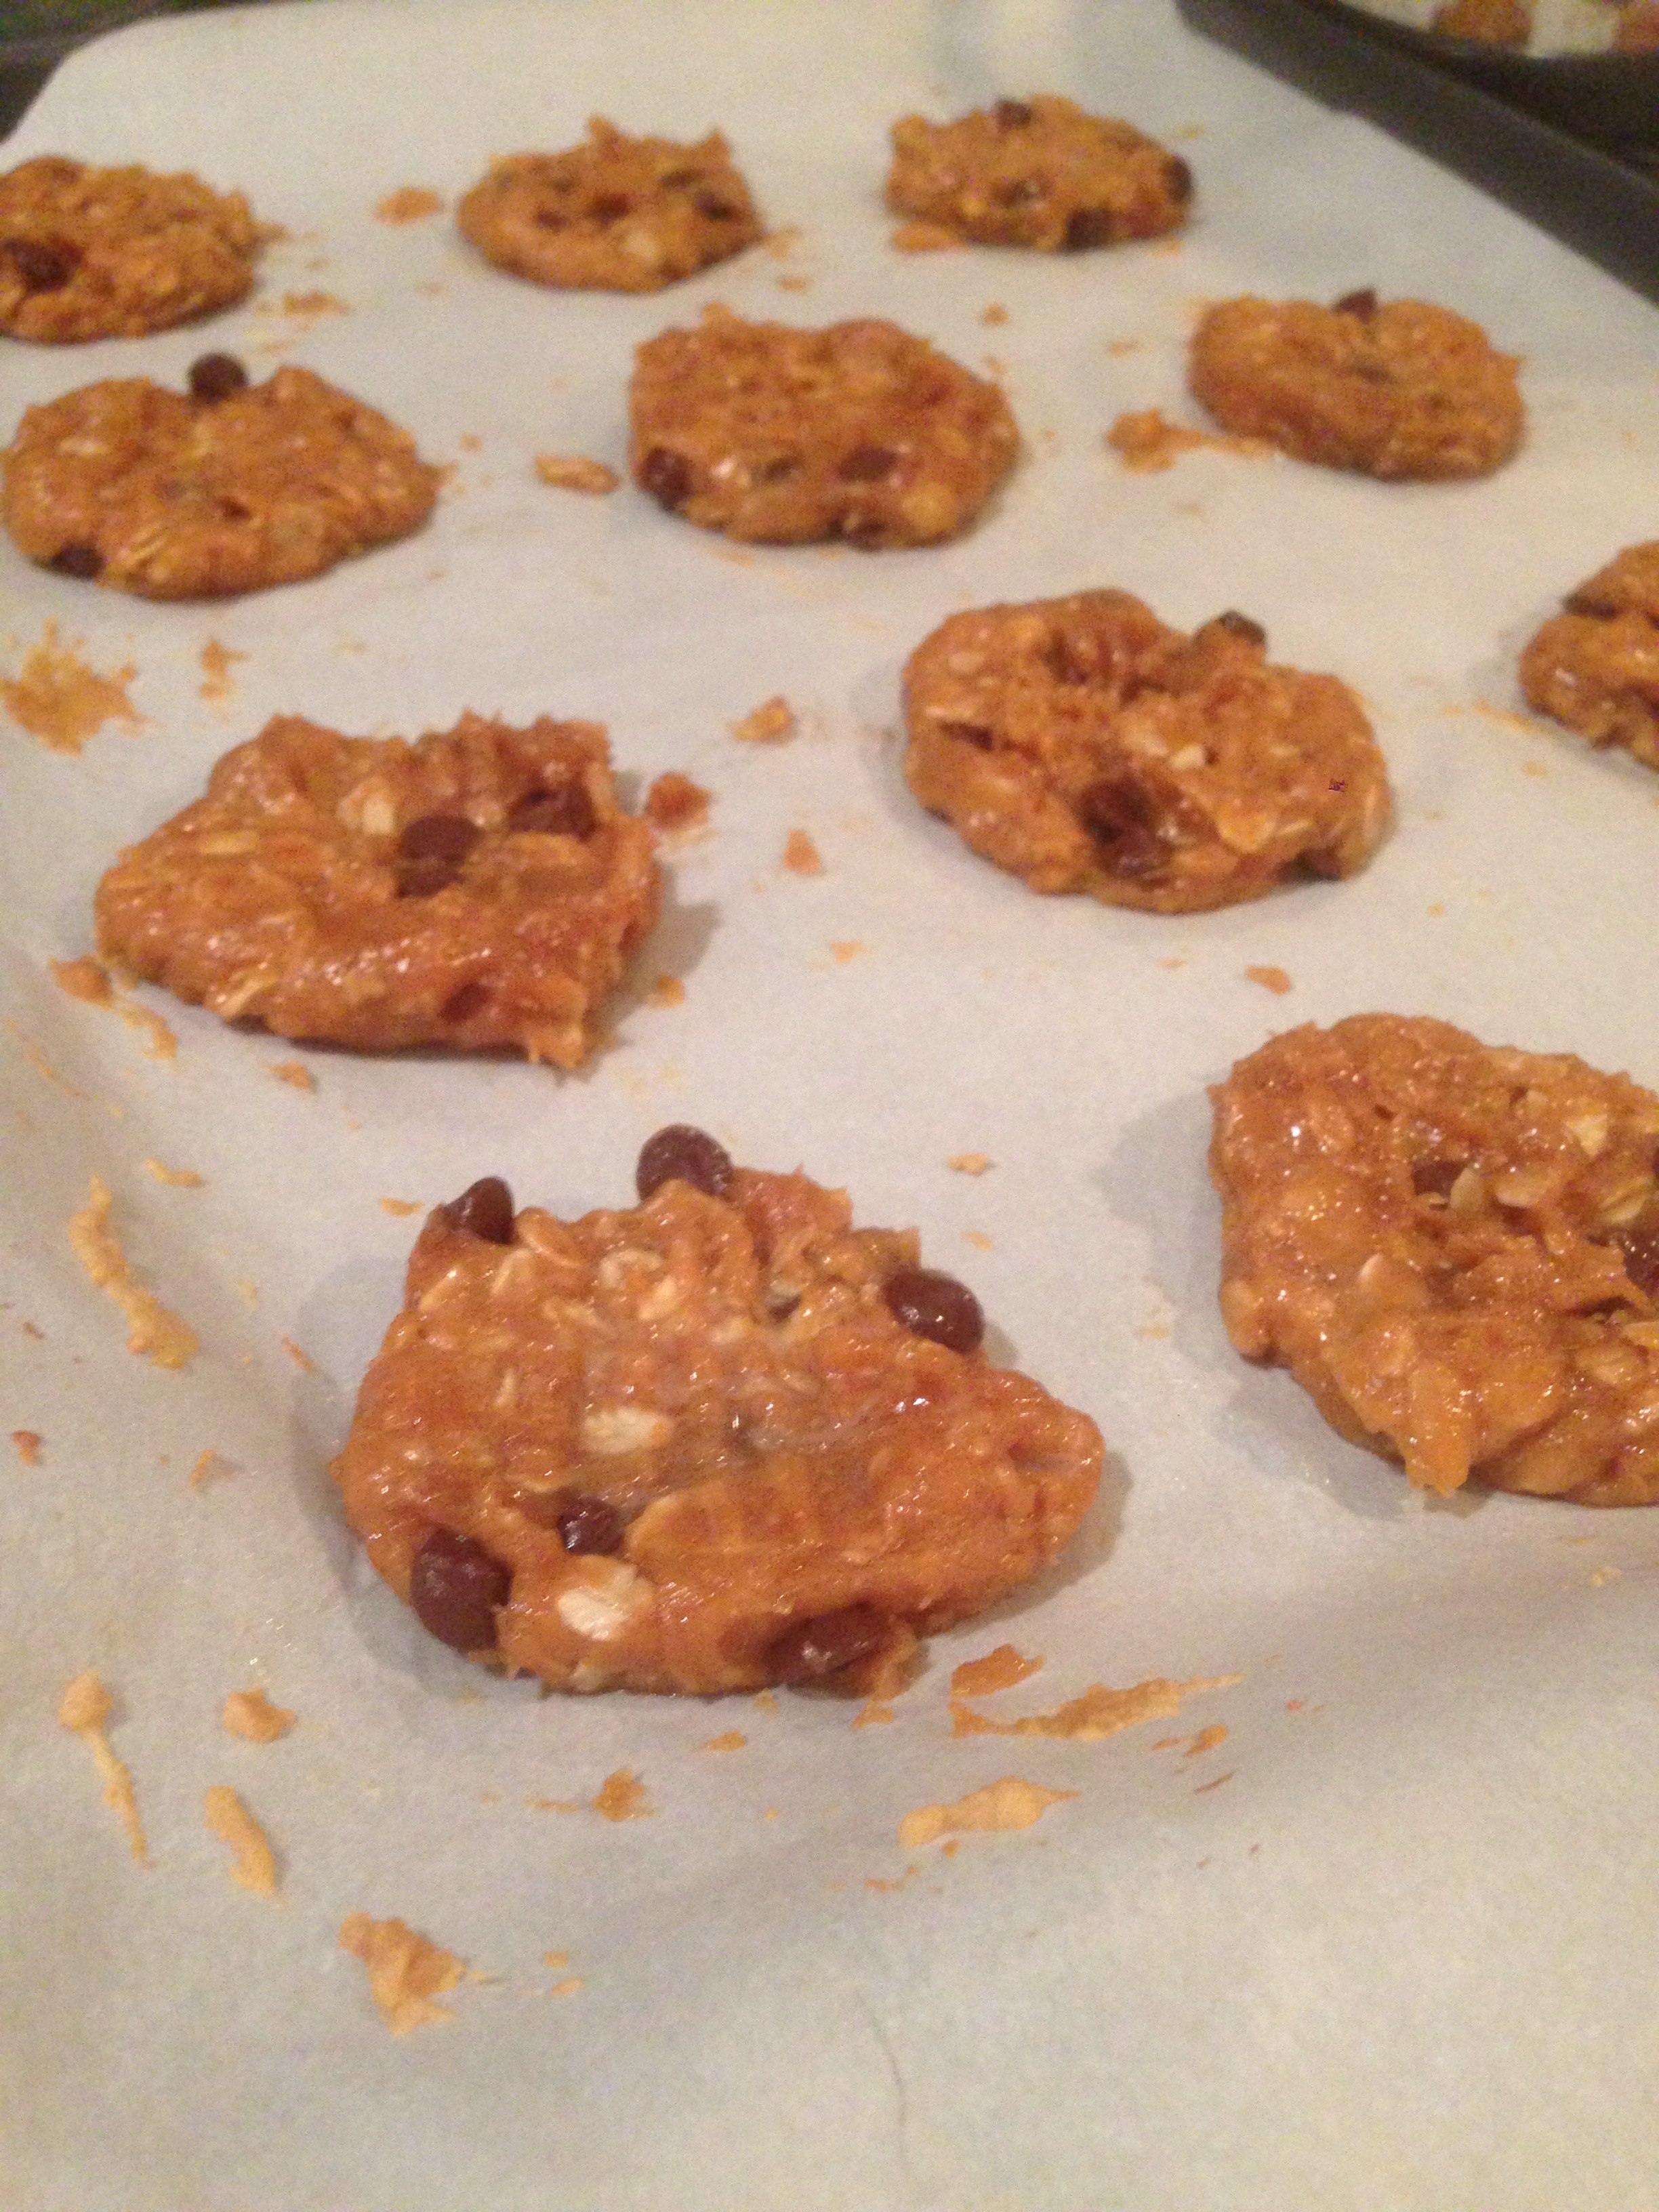
The recipe says to bake on 350F for about 8-10 minutes. Since my oven usually burns EVERYTHING (re: “The Granola”), I checked it at 6 and then reset the timer for a minute and a half. I pulled them out when I was convinced they looked cooked through.  
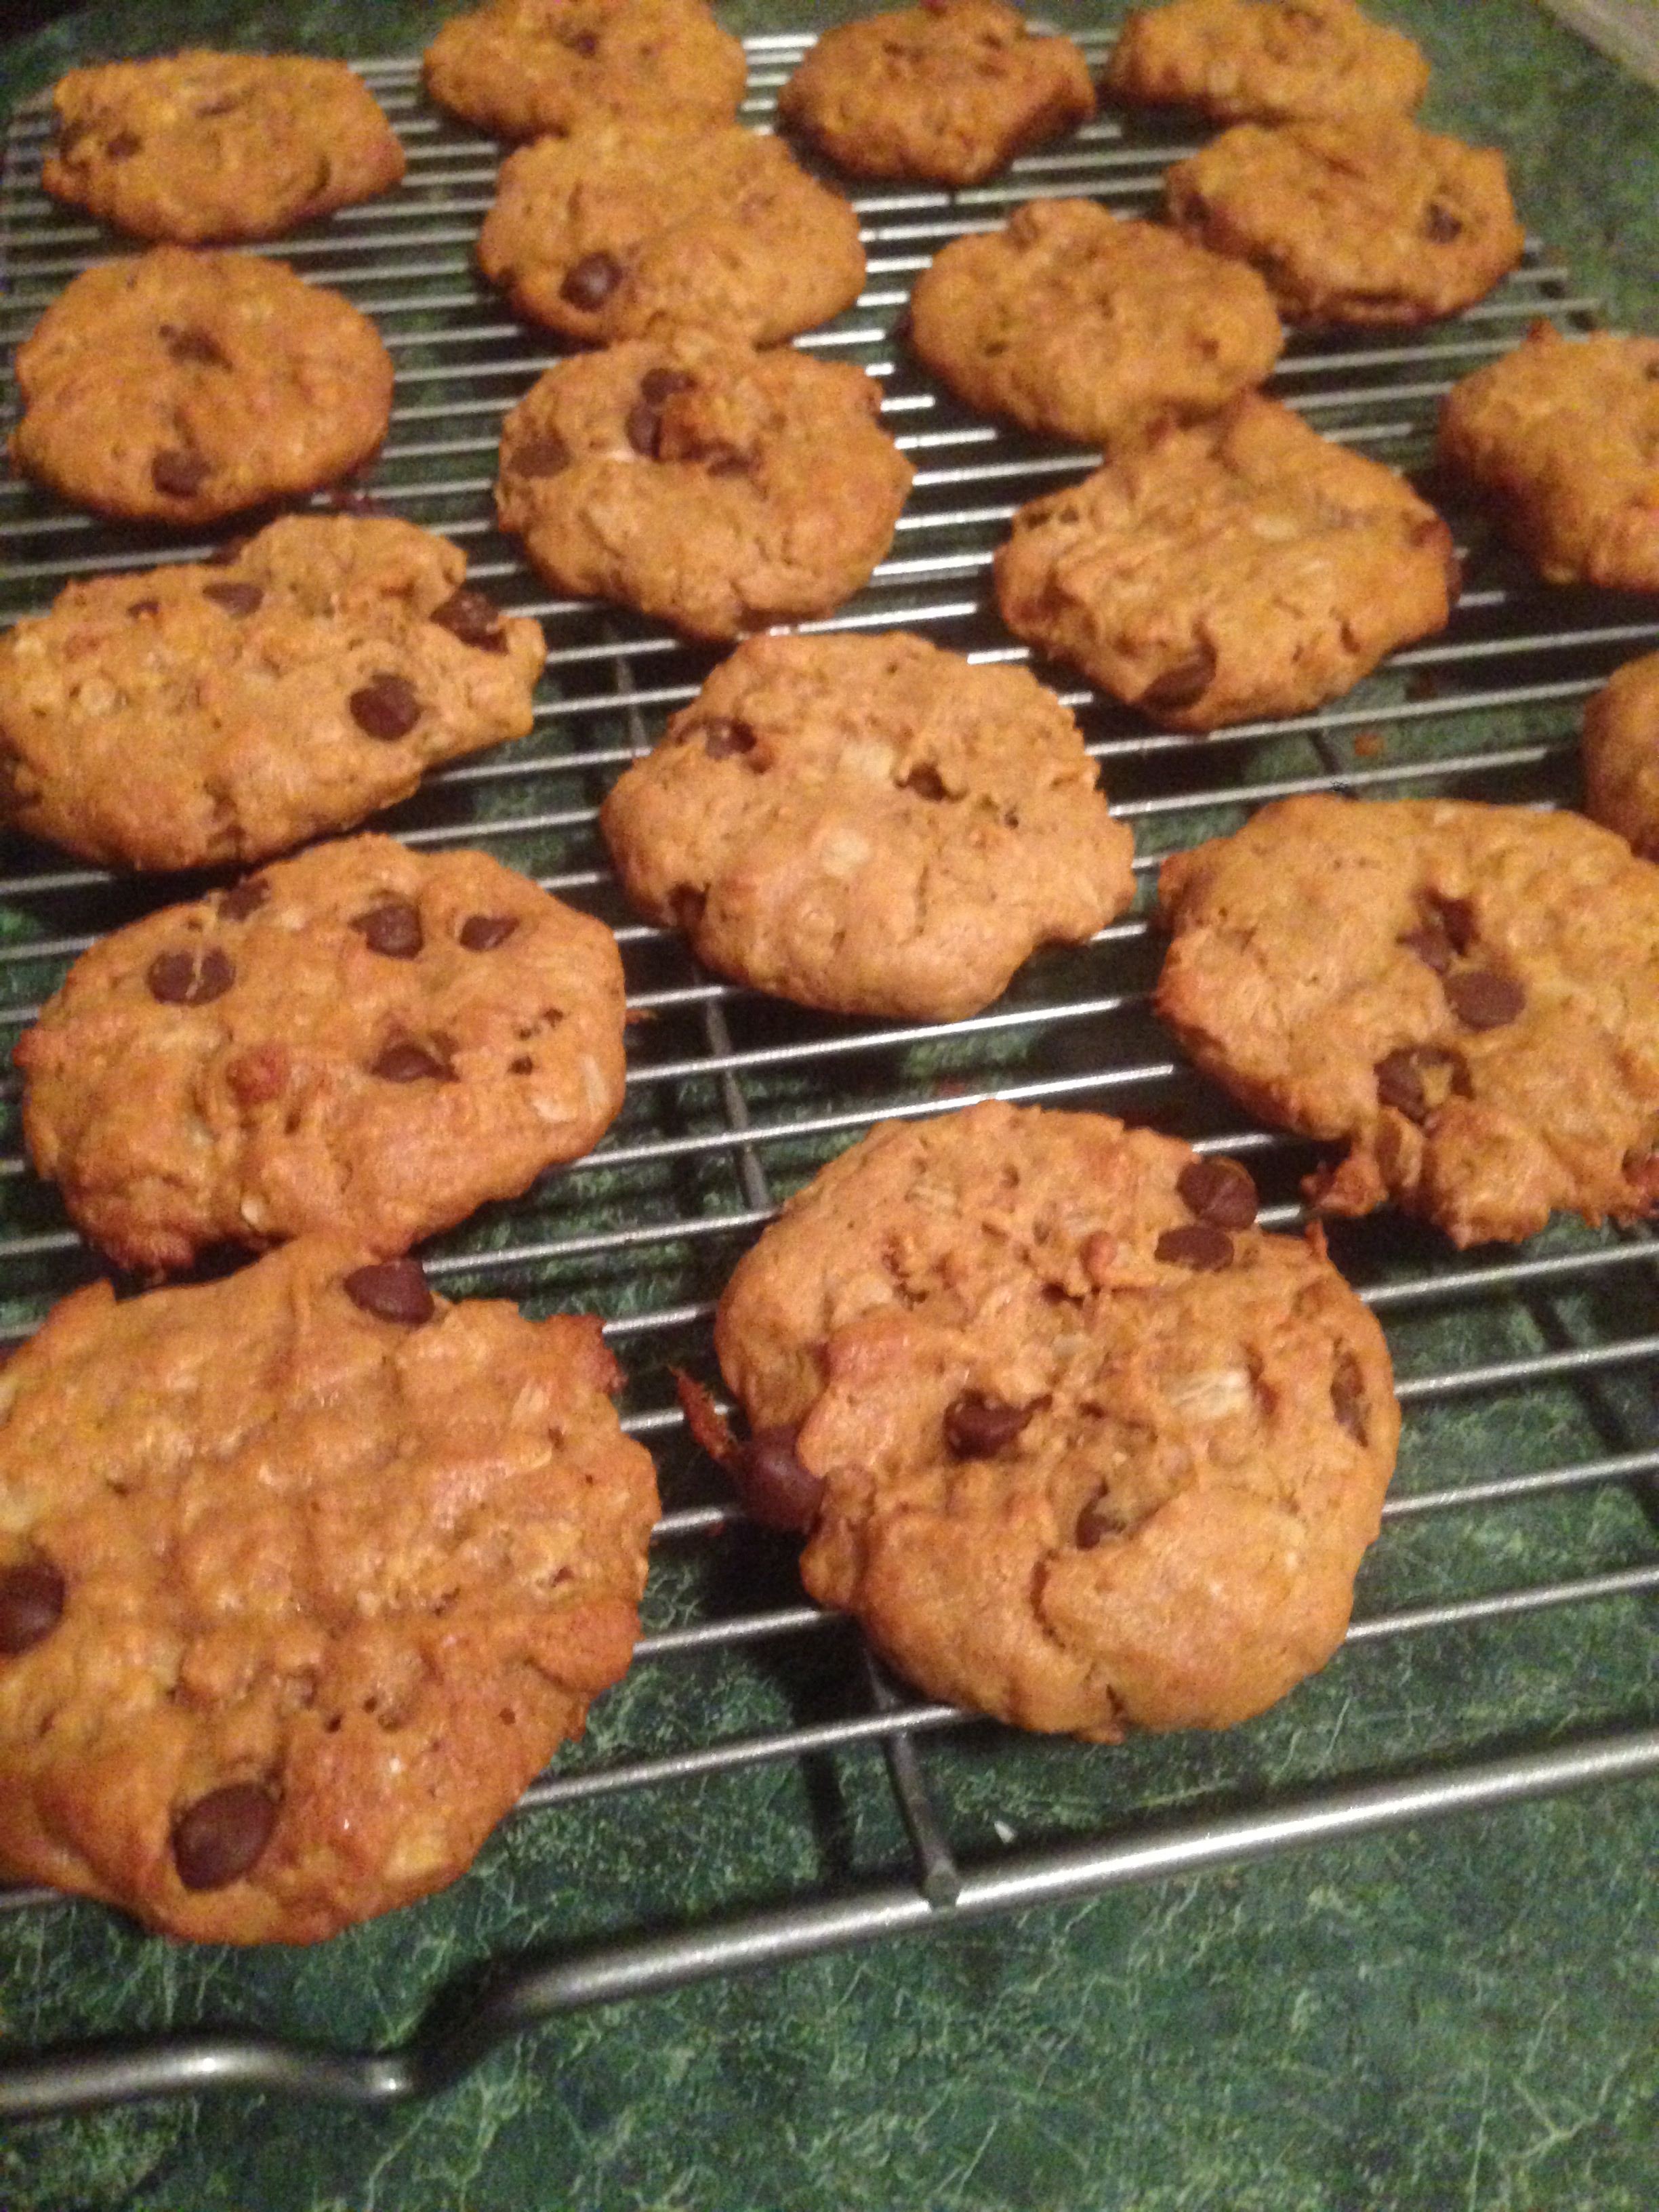
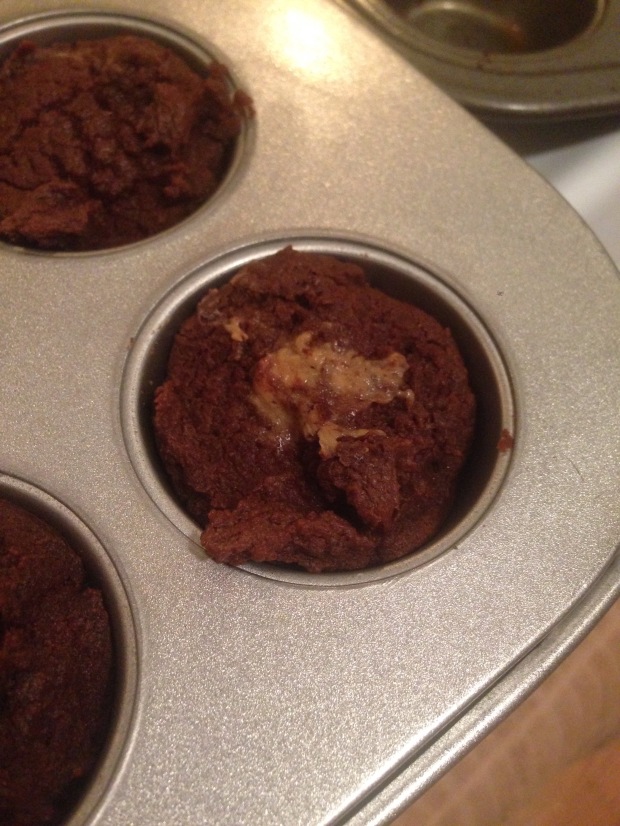
I let them cool in the muffin tin for about 15 minutes and then popped them out (and may or may not have popped one or two into my mouth).  
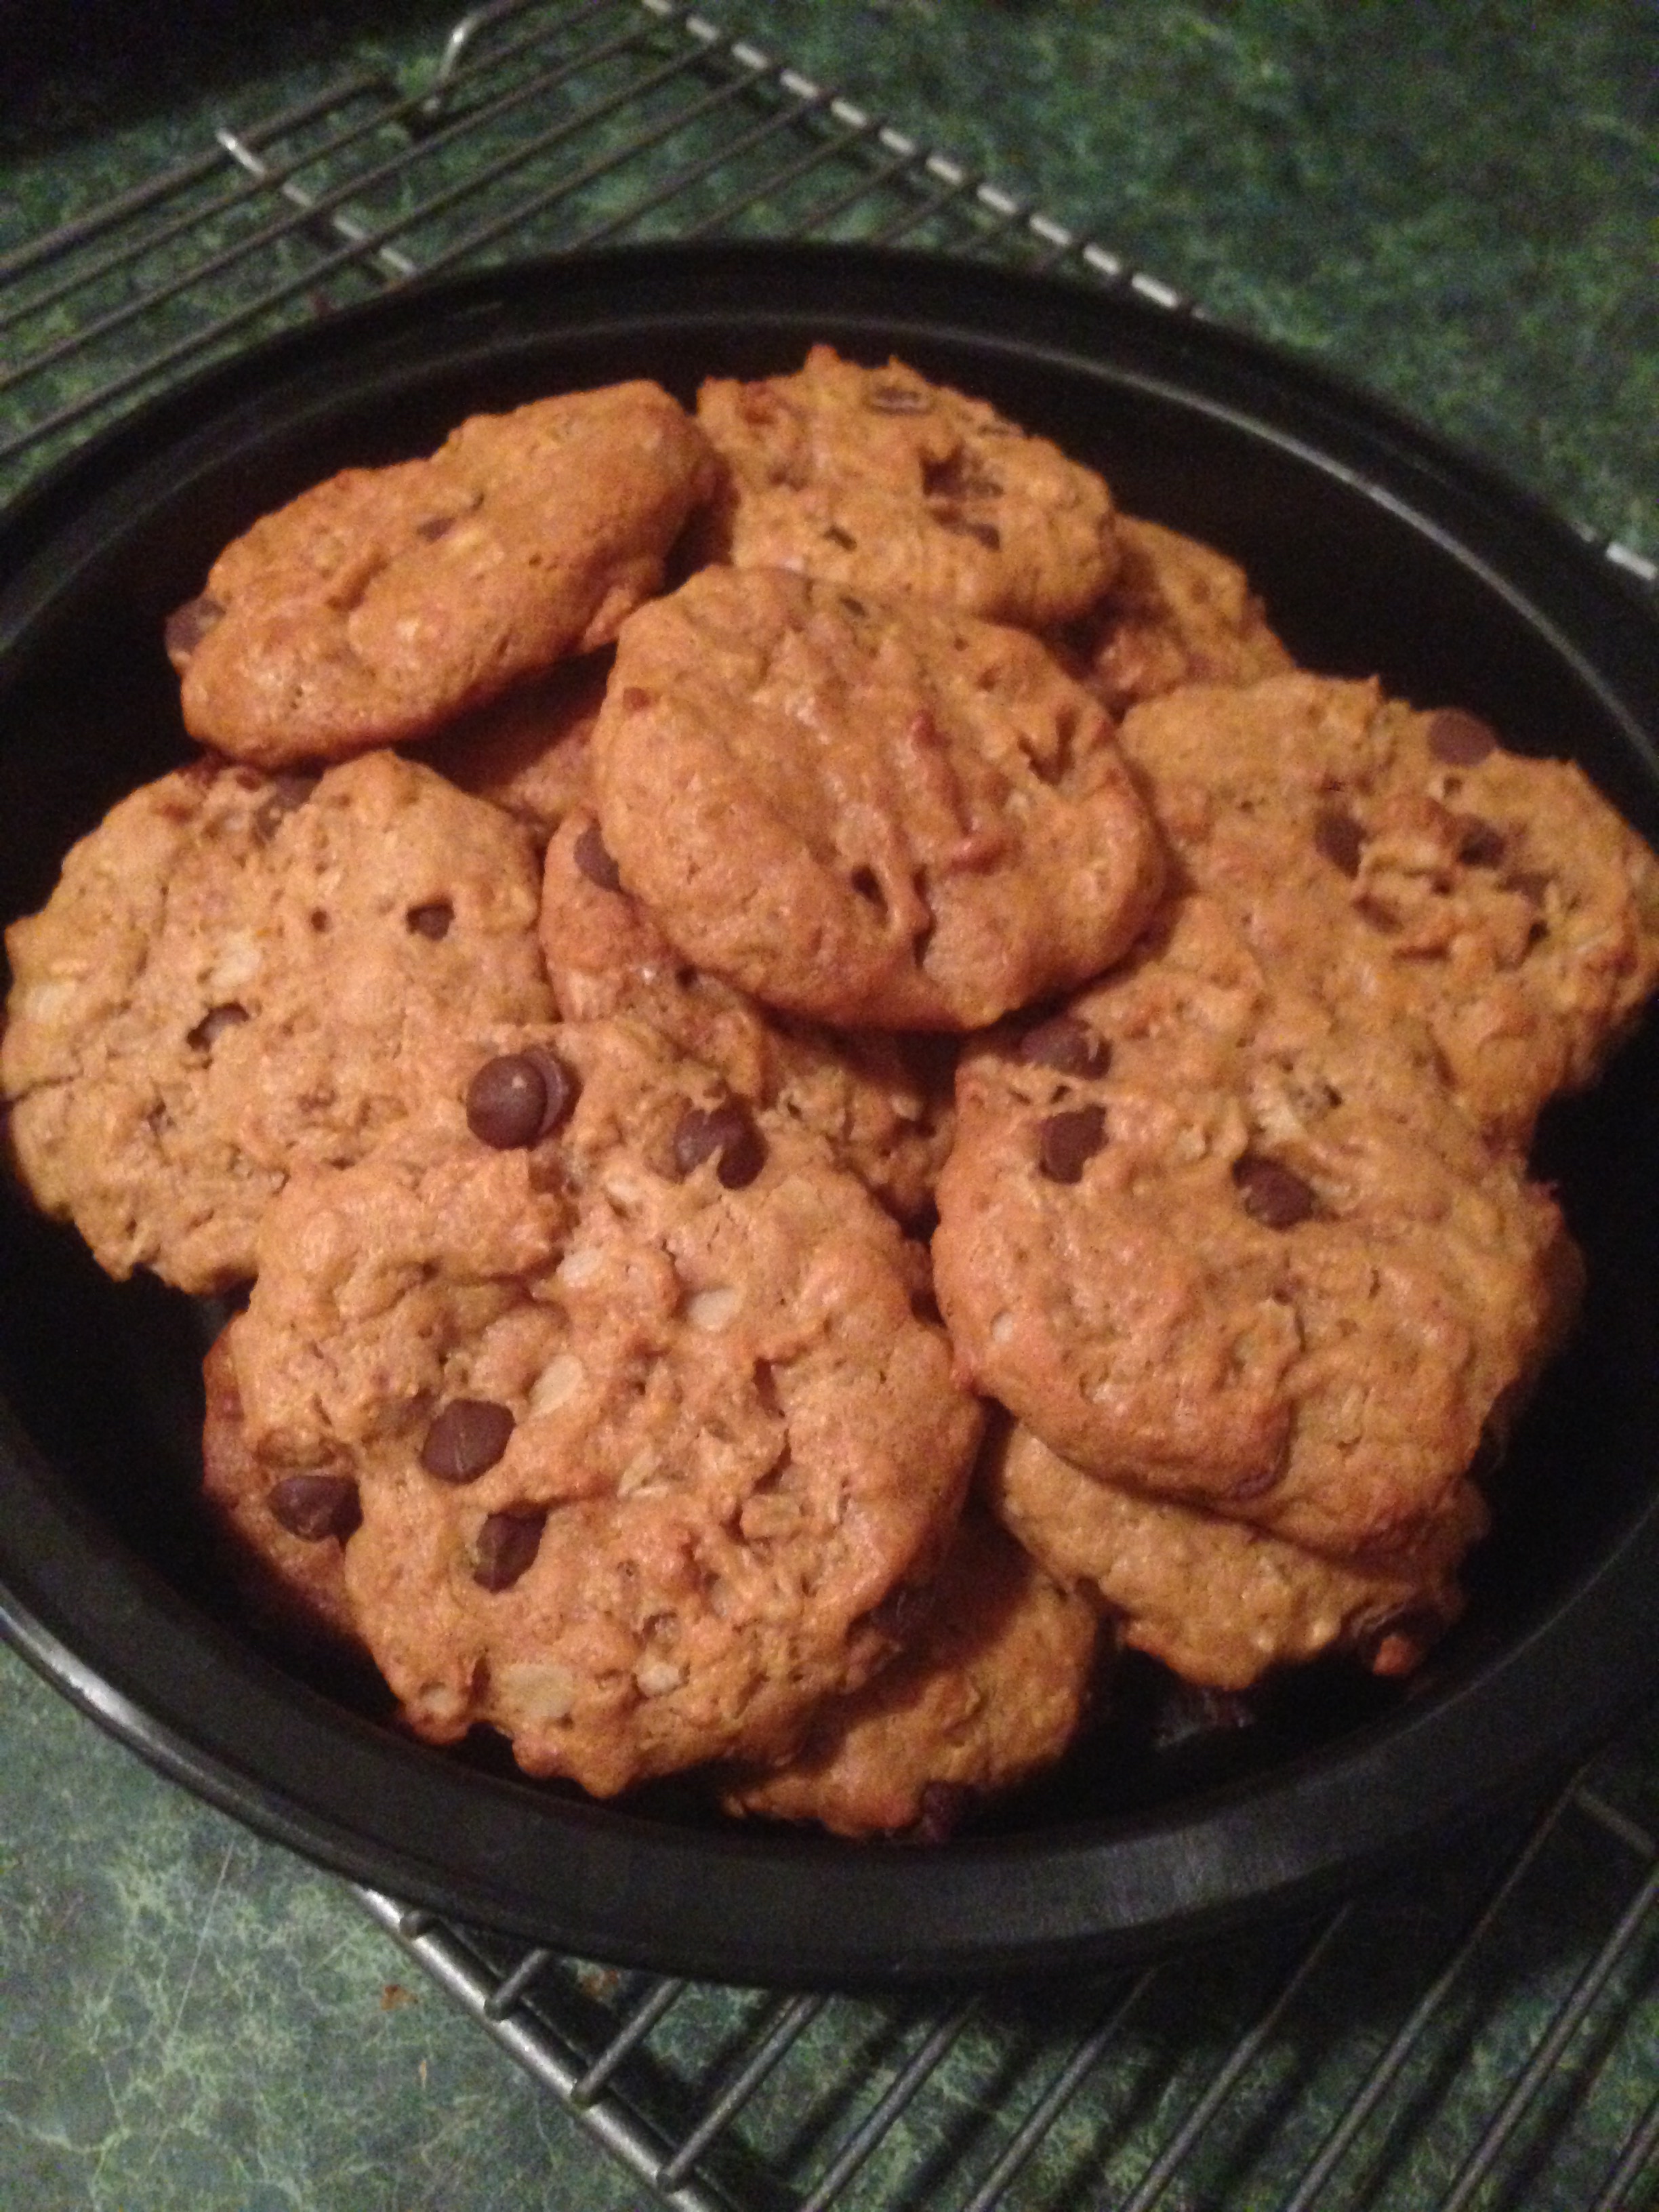
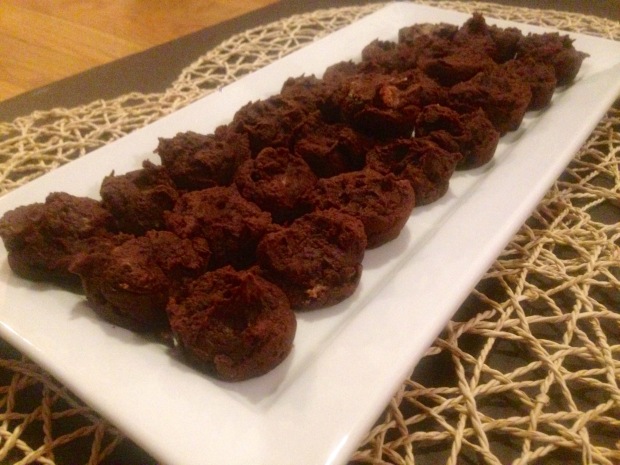
While these bites are tasty, they’re not a game changer. If I were to make them again, I would add nuts, chocolate chips, or some other form of crunch/texture. I also think I would add a stevia packet to enhance the sweetness. Luckily for me, they are still something that I am proud to serve to my coworkers. However, on my new rating scale {shout out to Bachata and Barbells for the fab idea!}, they’d probably fall somewhere around a 6 (if my granola is a 10). They’re a good healthy alternative, but I’ve definitely made some healthy muffins/brownies that taste pretty similar to their full cal counterparts. Which is BANANAS, no seriously – I think it’s due to the mashed bananas. Next time, I’ll be selecting bananas as an ingredient instead of avocado. Stay tuned!

Heather’s French Press: https://www.pinterest.com/offsite/?token=756-347&url=http%3A%2F%2Fwww.heathersfrenchpress.com%2F2014%2F07%2Fchocolate-peanut-butter-blender-muffins-avocado.html&pin=336995984591242201

The Granola

I probably should have written my first post all about the granola. I mean, I am a self-proclaimed addict after all. I guess I was just too excited to share my Super Bowl feast detailing the many ways to serve cheese. Just kidding! I actually haven’t made a batch of this crack since the holidays when I made 5 batches for my coworkers as holiday treats. The first of the five I accidentally burned; and if I was going to give the gift of granola, I had to make it perfect.  I did save (and subsequently consume) the semi-burnt batch for my own stash.  After the holidays, my hips needed a little break from having this crunchy goodness in the house. It’s just too easy not to grab a handful as you walk by (I dare you to try!)

IMG_7310

There were a total of 24 half pint mason jars – that’s a lot of granola.

I first discovered this recipe courtesy of Organize Yourself Skinny via Pinterest (see a common theme?). I had tried a couple of other recipes I found on Pinterest, but none have lived up to the deliciousness of this Coconut Almond Granola (yet, that is). It’s relatively easy to make, taking about 10 minutes to prep the ingredients. First you mix the dry ingredients together, then the wet separately – I use a whisk to blend prior to bathing the dry ingredients in this gooey concoction. The ingredients are almost as yummy before they’re baked as they are after.

The dry: {oats, coconut flakes, sliced almonds, cinnamon, and salt}

The Wet:  {pure maple syrup (“light” doesn’t work, also batch #1)melted coconut oil, vanilla extract}

The combo: {again, using my trusty whisk to blend the wet and dry together – making sure it’s evenly coated}

Once the oats, nuts, coconut, and spices have bathed in the wet ingredients and are evenly coated, spread the mixture onto a baking sheet covered in parchment paper – which I’m not gonna lie, I usually have to wrestle with to keep flat.

When baking the granola, know your oven. I’ve burned a batch or two of granola (see holiday experience above). The recipe says to cook for a total of 35 minutes, turning at the 20 minute mark and two more times, at about 5-7 minutes each time. Mine generally takes about 15 minutes for the first flip, followed by about 6 total minutes – checking and turning every 3 minutes. I promise, this is not a test of my own patience – although I won’t lie, I do dabble at every stage. I have made this recipe a few times and now know when it is almost time to stir up the granola. About a minute or two after you begin smelling the sweet, glorious smell wafting through your nose and making you hungrier than you initially thought…it is then about the time to mix up the batch. Make sure you really give the oats a good toss (and by toss, I mean move around with a utensil). The granola should also be turning a light brown shade (man, I wish I were turning a nice shade of bronze- amiright?). Anyway, back to the granola…

(Apologies for the blurriness, I guess it’s time to stop relying on my iPhone and break out a real camera)! 

When the granola is ready to be removed from the oven, I roll the parchment paper into almost a tootsie roll (hold on tight to the edges so you don’t have any jumpers) and move the granola off the baking sheet to cool. This helps prevent the granola from continuing to cook while it cools – and trust me, you want it to cool properly. I try my best to leave it alone until it is entirely cooled. Another tip- I pack the granola into a log while it cools. This allows for the granola to stick and chunk together to create larger crunchy clusters. I’m salivating just thinking about it cooling so close to me (I’ve already had to relocate myself to a different room).

When the granola has cooled sufficiently, it will not only be cool to the touch but also crunchy when you bite (not to mention AMAZING to the taste). Once it reaches this wonderful consistency, the process is complete. It takes about an hour from start to finish- however, it’s a recipe I’m down with waiting for patiently (and by patiently, I obviously mean taking some tasting nibbles at each phase). Since this granola has the tendency to follow the same mantra as Pringles, once you pop – you can’t stop; I recommend sticking it in an air tight container ASAP (I use mason jars, cause I’m trendy like that). It stores really well for a while, but kudos to you if you can keep it in the house that long! Good luck!

P.S. It makes just about two of the 24 ounce mason jars, but since sharing is caring, I separated some into plastic bags for my soon to be happy coworkers.

Link to the recipe: http://www.organizeyourselfskinny.com/2013/02/04/clean-coconut-almond-granola-recipe/